While repairing water-damaged kitchen cabinets can be a daunting task, it is possible with the right steps. In this article, we will discuss the causes of water damage on kitchen cabinets and provide practical tips on how to repair them. Additionally, we will provide valuable advice on how to prevent water damage in the first place.
What are the common causes of water damage in kitchen cabinets?
Water damage in kitchen cabinets can be caused by various factors. Here are some of the most common causes of water damage in kitchen cabinets:
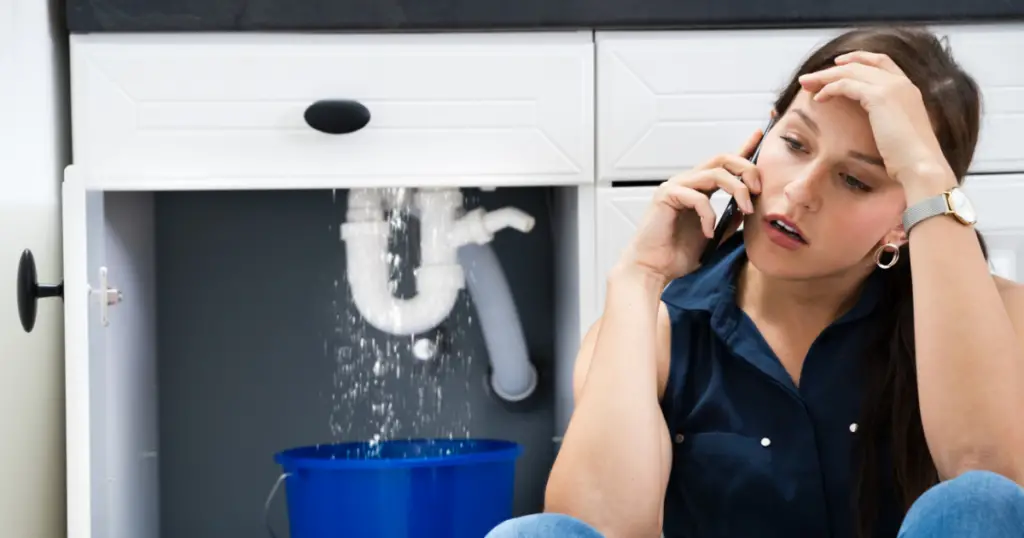
- Leaky pipes and faucets: One of the leading causes of water damage in kitchen cabinets is leaky pipes and faucets. These leaks can occur due to worn-out gaskets, loose connections, or damaged pipes, causing water to seep into the cabinet structure.
- Spills and splashes: Another common cause of water damage in kitchen cabinets is spills and splashes from cooking, cleaning, or dishwashing activities. When liquids are not cleaned up immediately, they can penetrate through the surface finish and cause warping, discoloration, or even mold growth.
- High humidity levels: Kitchen environments are often humid due to cooking steam and lack of proper ventilation systems. High humidity levels can cause moisture to accumulate inside cabinet structures, leading to warping, cracking, and other forms of damage.
- Poor installation: Improper installation of kitchen cabinets can also lead to water damage over time. If gaps are left around sinks and appliances during installation, water can seep into these gaps and cause damage to the surrounding structures.
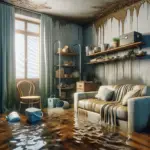
- Flooding: In rare cases, flooding caused by natural disasters or plumbing failures can also result in extensive water damage to kitchen cabinets.
To ensure that costly and time-consuming repairs are avoided, it is critical to identify the source of water damage on your kitchen cabinets to take preventative action.
How does water damage kitchen cabinets?
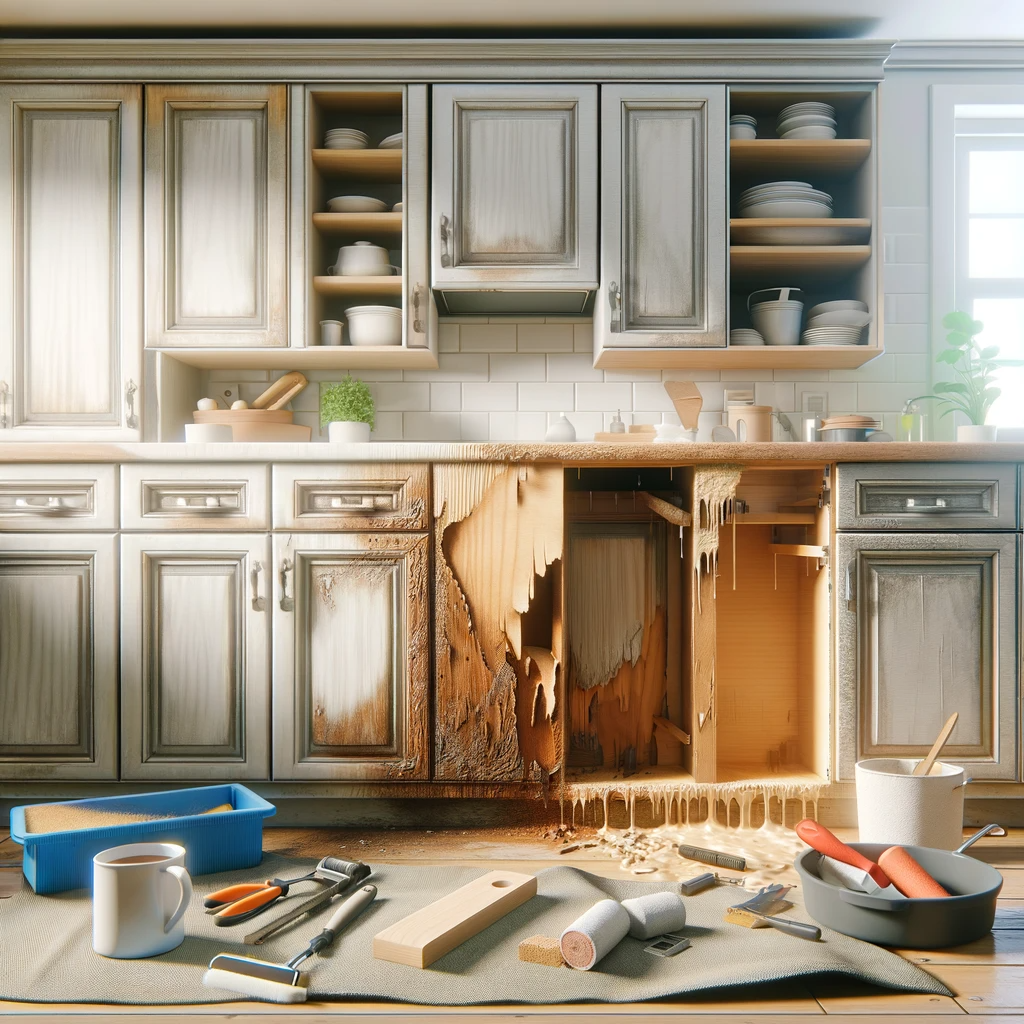
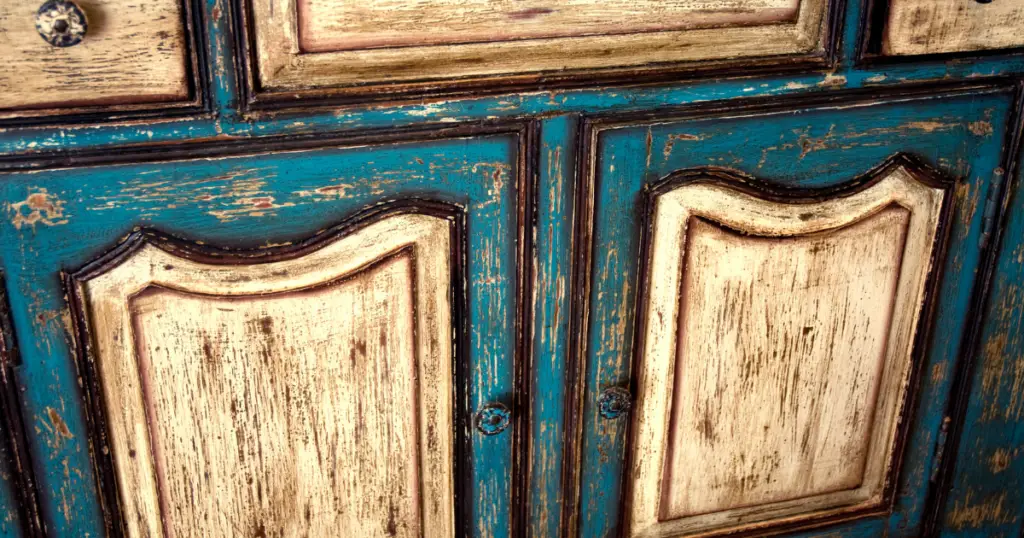
Water damage can cause a variety of issues on kitchen cabinets, including warping, discoloration, cracking, and mold growth. Warping occurs when moisture penetrates the cabinet structure and causes the wood to expand, leading to gaps in between joints.
Discoloration is another common issue caused by water damage which results in staining or fading of the cabinet surface. Cracking can happen when the wood expands beyond its natural limits and splits along joints or corners.
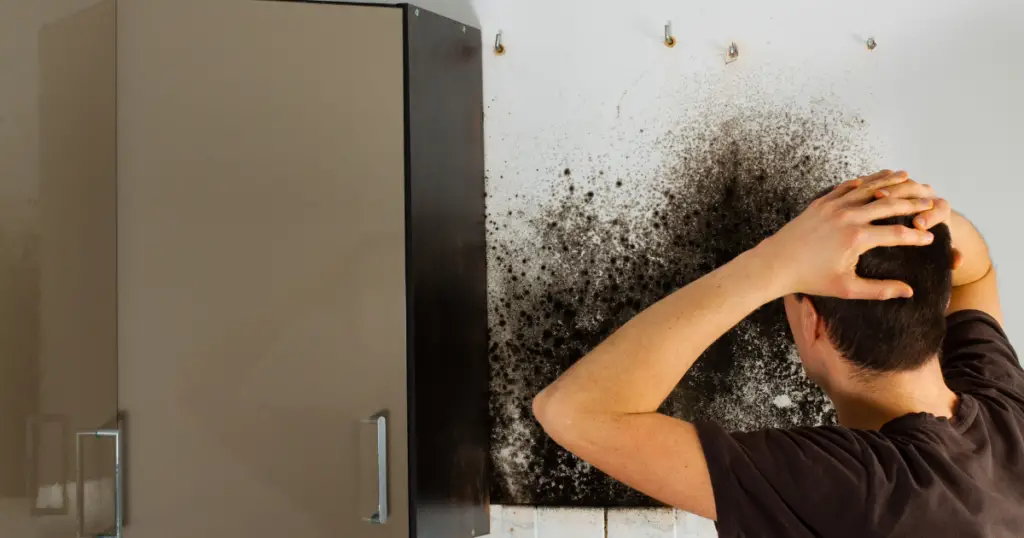
Finally, mold growth is another issue that may occur due to water damage. Mold thrives in damp and humid environments, causing musty odors and health risks if left untreated.
Can damaged kitchen cabinets be repaired?
When it comes to fixing damaged kitchen cabinets, the severity of the damage is crucial. Minor issues such as scratches and dents can be fixed by sanding, repainting, or refinishing the cabinet. However, major problems like water damage, warping, or splitting require more extensive repairs.
If the damage is severe, you may need to replace the affected cabinet components. This can include replacing wood panels or hardware and repairing any underlying structural damage. If mold growth is present, it is important to remove it completely before attempting any repairs.
Professional help may be required if the damage is extensive. A qualified contractor can assess the extent of water damage, provide recommendations on how to fix it, and carry out any necessary repairs.
How to repair kitchen cabinets after water damage?
Kitchen cabinets are an essential part of any kitchen, providing storage and adding to its overall aesthetic. However, water damage can cause significant harm to cabinets and affect their functionality. Here’s how you can fix water damaged cabinets:
Assess The Situation
Assessing the situation is the first step in repairing kitchen cabinets with water damage. Check if the glue joints are stable and look for signs such as discoloration, warping, or mold growth on the surface of the cabinet. If the damage is minimal, you may be able to fix it yourself. However, if there is extensive damage, it is recommended that you seek professional help.
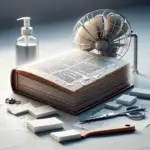
Organize And Separate Tools And Materials
To make your repair project go smoothly, organize and separate all of your tools and materials before beginning work.
Some of the materials you’ll need include:
- Safety goggles;
- Gloves;
- carpenter’s glue;
- Sandpaper;
- Paint or Stain;
- Paint brushes or rollers;
- Dehumidifier;
- Hand saw or jigsaw;
- Putty knife,
- Screws and nails;
- Drill;
- Screwdriver.
Dry The Area
Before repairing any damage to your kitchen cabinets, ensure that the area is completely dry. Use a dehumidifier or fans to speed up the drying process. Avoid using heat sources such as hairdryers as they can cause further damage.
Remove Kitchen Items And Prepare the Area
Remove all items from your kitchen cabinets and prepare the area for repair. Check under sink cabinet also. Cover nearby surfaces with plastic sheets to prevent any accidental spillage of chemicals or water during repairs.
Remove Water Damaged Cabinet Doors And Drawers
Most cabinets have removable doors and drawers. To repair any damage, you’ll need to remove them from the cabinet frame. Use a screwdriver or drill to remove any screws and be careful not to damage the frame. Set them flat in a dry, well-ventilated area.
Apply Plastic Wood Filler and Primer
If there are any large gaps or holes in your cabinets after repairing them with wood filler, you may need to use a plastic filler to fill in these areas. Plastic filler is easy to work with and can be sanded down once it dries for a smooth finish. Apply the plastic filler using a putty knife and allow it to dry according to manufacturer instructions before sanding it down.
After repairing any water-damaged areas with wood filler and sandpaper, it’s important to apply a primer before painting or staining your cabinets. The primer will help seal the wood and provide a smooth surface for paint or stain to adhere to. Primer is usually provided in an easy-to-use spray bottle for convenient application over affected areas. To ensure a smooth surface, simply apply 1-2 coats of this product onto any damaged spots on your cabinet door.
This primer is going to help even out the surface of the wood but also allow your paint to stick to it well. Use a brush or roller to apply the primer evenly over all surfaces and allow it to dry completely before moving on to the next step.
Sand Each Cabinet Door
To achieve a flawless finish when reinstalling your repaired cabinets, lightly sand each piece with a fine-grit sandpaper. 120-grit sandpaper or any similar coarse grit is ideal for this step. While some prefer to do this by hand, using an electric sander made by a reputable home design company can make the process much easier. However, take care not to over-sand the wood as you may need to repeat the process. Your cabinets may not look brand new immediately but aim for a smoother and less damaged appearance after sanding.
Repeat the previous steps if necessary in case your cabinets have severe water damage. It may be necessary to repeat the previous steps one or two times until the repair work is satisfactory. Depending on the extent of the damage, you can reuse the primer, plastic wood filler, and sanding process.
If you are uncertain about any of the repair steps, it is recommended that you seek professional help. Having an experienced handyman or contractor to assist with repairs can save time and provide peace of mind in knowing that the job is done correctly. A qualified professional will have the tools and expertise to make your kitchen cabinets look as good as new.
Paint It and Sand
Once you have completed the repairs, it’s time to give your cabinets that new look. To do this, you must first choose an appropriate paint or stain to cover any damaged areas.
Apply the chosen product with a brush or roller and pay careful attention to all edges, corners, and crevices. Depending on the type of finish you want, you may need to apply multiple coats of paint.
Once you’ve completed the painting process, set aside your cabinet door and permit it to dry. The amount of time needed will vary depending on the type of paint used – oil-based paints may require a few hours between coats, so be sure to allow yourself enough time for this step.
Sand It One Last Time And Apply the Final Coating
Once your first coat of paint has dried, you can sand the cabinet door once more with fine-grit sandpaper. This will help to even out any bumps or inconsistencies that may have occurred during the painting process.
After this is done, apply a final coat of paint or stain to achieve your desired finish – gloss for a shiny look or matte for a more subtle look.
Seal Your Cabinets
To complete the job, apply a sealer to your cabinets. This will help protect them from further water damage and keep them looking good for years to come. A polyurethane sealer is best suited for this task because it provides an extra layer of protection against moisture.
Reassemble Your Cabinets And Enjoy!
Now it’s time to reassemble your kitchen cabinet doors and drawers and enjoy the fruits of your labor. Make sure that all screws, hinges, and other hardware are properly installed and secure before opening the door.
How to prevent and protect my cabinets from water damage?
To prevent water damage, it is essential to regularly inspect and take the necessary steps required for cabinet maintenance. This includes cleaning, sealing, and other upkeep that should be routinely conducted. Here are some tips to protect kitchen cabinets from:
- Check for leaks: Regularly inspect the plumbing under and around your sink to ensure there are no leaks. Also, check the pipes leading to your dishwasher and refrigerator.
- Seal edges: Use silicone caulk to seal any gaps or cracks around sinks, faucets, and countertops where water may seep through.
- Install drip trays: Place drip trays under appliances like dishwashers and refrigerators to catch any water that may leak out.
- Use waterproof mats: Place waterproof mats under pet food bowls or plants on cabinets to prevent water damage.
- Wipe up spills immediately: Whenever there is a spill, clean it up right away to avoid moisture seeping into the cabinet material.
- Control humidity levels: Wipe excess moisture away. Keep humidity levels in your kitchen low by using exhaust fans while cooking or boiling water.
- Avoid overwatering plants near cabinets: Water plants sparingly and avoid placing them directly on top of cabinets.
- Choose waterproof materials: Consider using waterproof materials like marine-grade plywood or plastic laminate when replacing or installing new cabinets.
- Apply a protective coating: Apply a protective coating on the cabinet surface to make it more resistant to moisture damage.
- Inspect regularly: Regularly inspect your cabinets for signs of water damage such as warping, discoloration, or mold growth.
What kinds of cabinet materials are most vulnerable to water damage?
Wood-based products are among the most vulnerable to water damage. Solid wood cabinets, plywood, particle board, and Medium-Density Fiberboard (MDF) are all susceptible to swelling and warping when exposed to moisture.
Even a small amount of water can cause significant damage over time if not addressed promptly. To minimize the risk of water damage, it is important to ensure that your cabinets are properly sealed and finished with a waterproof coating.
Professional Help
If you’re dealing with water damaged kitchen cabinets, it’s important to consider the severity of the damage before attempting any DIY solutions. While small damages may be fixable on your own, larger and more complex issues often require the expertise of a professional.
Seeking professional help for fixing water damaged cabinets is crucial as it guarantees that the job will be done correctly and efficiently, saving you time and money in the long run. Whether it’s a minor leak or a major flood, don’t hesitate to reach out to a professional for assistance with your water damaged cabinets.
[/et_pb_text]