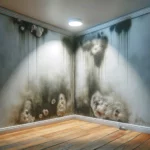
Basement and Crawl Spaces
Basements and crawl spaces frequently harbor hidden leaks owing to their limited visibility and high pipe concentration – not to mention the fact that most people rarely venture into the basement with the express purpose of inspecting for water leaks.
Higher humidity is a contributing factor to one of the most common water leaks in basements, as it accelerates pipe deterioration. Temperature fluctuations cause expansion and contraction that stresses connections. This can damage foundation elements and create the perfect breeding ground for mold growth.
Outdoor Faucets and Irrigation Systems
Outdoor plumbing is a frequently overlooked area, but it is actually one of the most common water leaks on a property. Exterior faucets and underground irrigation systems can develop major leaks that go undetected for weeks, months, or even years because they don’t directly impact living spaces.
Outdoor leaks often stem from freeze damage to exterior faucets, cracked irrigation system pipes or heads, worn valve seals, or underground pipe failures due to soil shifting or root intrusion.
These leaks often waste remarkable amounts of water while remaining hidden. A single cracked irrigation pipe can leak hundreds of gallons daily, most of which seeps harmlessly into the soil – until it eventually finds its way against your foundation.
How to Detect Plumbing Leaks in Your Home
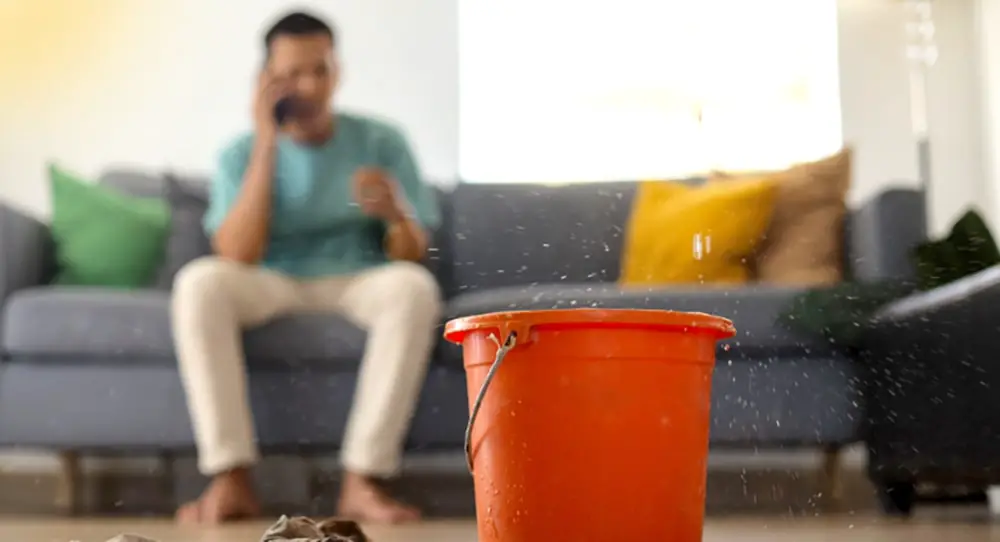
Aside from knowing where to look for common water leaks in the home, you also need to know how to identify leaks early. As is always the case with water leaks, fast action can prevent minor issues from becoming major problems.
Signs of a Hidden Leak
Several indicators suggest a leak somewhere in your home’s plumbing:
- Water bills that suddenly increase without explanation
- The sound of running water when all fixtures are off
- Decreased water pressure at faucets or showers
- Warm spots on floors (for hot water pipe leaks)
- Unusually damp air or increased indoor humidity
Ultimately, your water meter provides one of the most reliable leak detection methods. To that end, with all water-using appliances and fixtures turned off, check your meter occasionally. If it continues to register movement, you probably have a leak somewhere in your system.
DIY Leak Detection Tips
Simple home tests can help locate most (but certainly not all) common water leaks in house plumbing. For faucets, place a dry paper towel around the base and check for dampness after running water for a minute.
To check for slab leaks at home (pipes running beneath concrete foundations), listen for the sound of running water when everything is quiet and turned off. Warm spots on floors can indicate hot water line leaks beneath.
For suspected plumbing leaks in walls, a moisture meter can help confirm dampness without cutting into drywall. These relatively inexpensive devices are available at most hardware stores and can detect moisture invisible to the naked eye.
When to Call a Plumber
While many leaks can be identified through DIY methods, certain situations call for professional assistance:
- When you suspect a leak but can’t locate its source
- If the leak appears to be inside a wall, ceiling, or under a concrete slab
- When you notice water damage but no visible leak
- If you hear running water sounds but all fixtures are off
Professional plumbers have specialized equipment, including electronic leak detectors, video pipe inspection cameras, and thermal imaging tools that can locate the most common water leaks in a house without extensive demolition.
Preventing Plumbing Leaks in Your Home
Prevention is always better than cure and is the single best approach to household plumbing leaks. Regular maintenance and forward-thinking, proactive measures can massively reduce your risk:
- Inspect visible plumbing connections monthly for signs of corrosion or moisture
- Replace washing machine hoses every 3-5 years, even if they appear fine
- Install water leak detection devices near high-risk areas like water heaters and under sinks
- Maintain proper water pressure (excessive pressure stresses pipes and connections)
- Winterize outdoor plumbing before freezing weather arrives
For older homes with aging plumbing, professional water damage inspection every few years can identify potential problem areas before they fail. While this does incur an upfront cost, it’s minimal compared to the expense of major water damage repairs in the long run.

Taking Action Against Water Leaks
Knowing where the most common water leaks in a home can happen is important for all homeowners. You can protect your home through basic knowledge, regular inspection, and a little forward-thinking maintenance here and there.
The most common water leaks in house plumbing systems typically give warning signs before causing major damage – if you know what to look for, that is. When leaks do occur, quick action greatly reduces damage and repair costs.
At WetReset, we have seen countless times how quickly a small leak can escalate into a major water damage event. Our experienced technicians are ready to help with professional water damage mitigation and restoration services whenever you need us.