Key Takeaways
-
Early identification of water damage indicators like discoloration, peeling paint, or mold growth on drywall is critical for preventing serious structural issues and should be addressed promptly.
-
Moisture meters, both penetrating and non-penetrating, are essential tools for accurately assessing moisture content in drywall, and selecting the right type depends on the specific measurement needs and drywall material.
-
Repairing water-damaged drywall entails locating the leak source, removing affected materials, drying the area completely, and replacing with new materials, followed by comprehensive steps to prevent future damage through waterproofing and regular inspections.
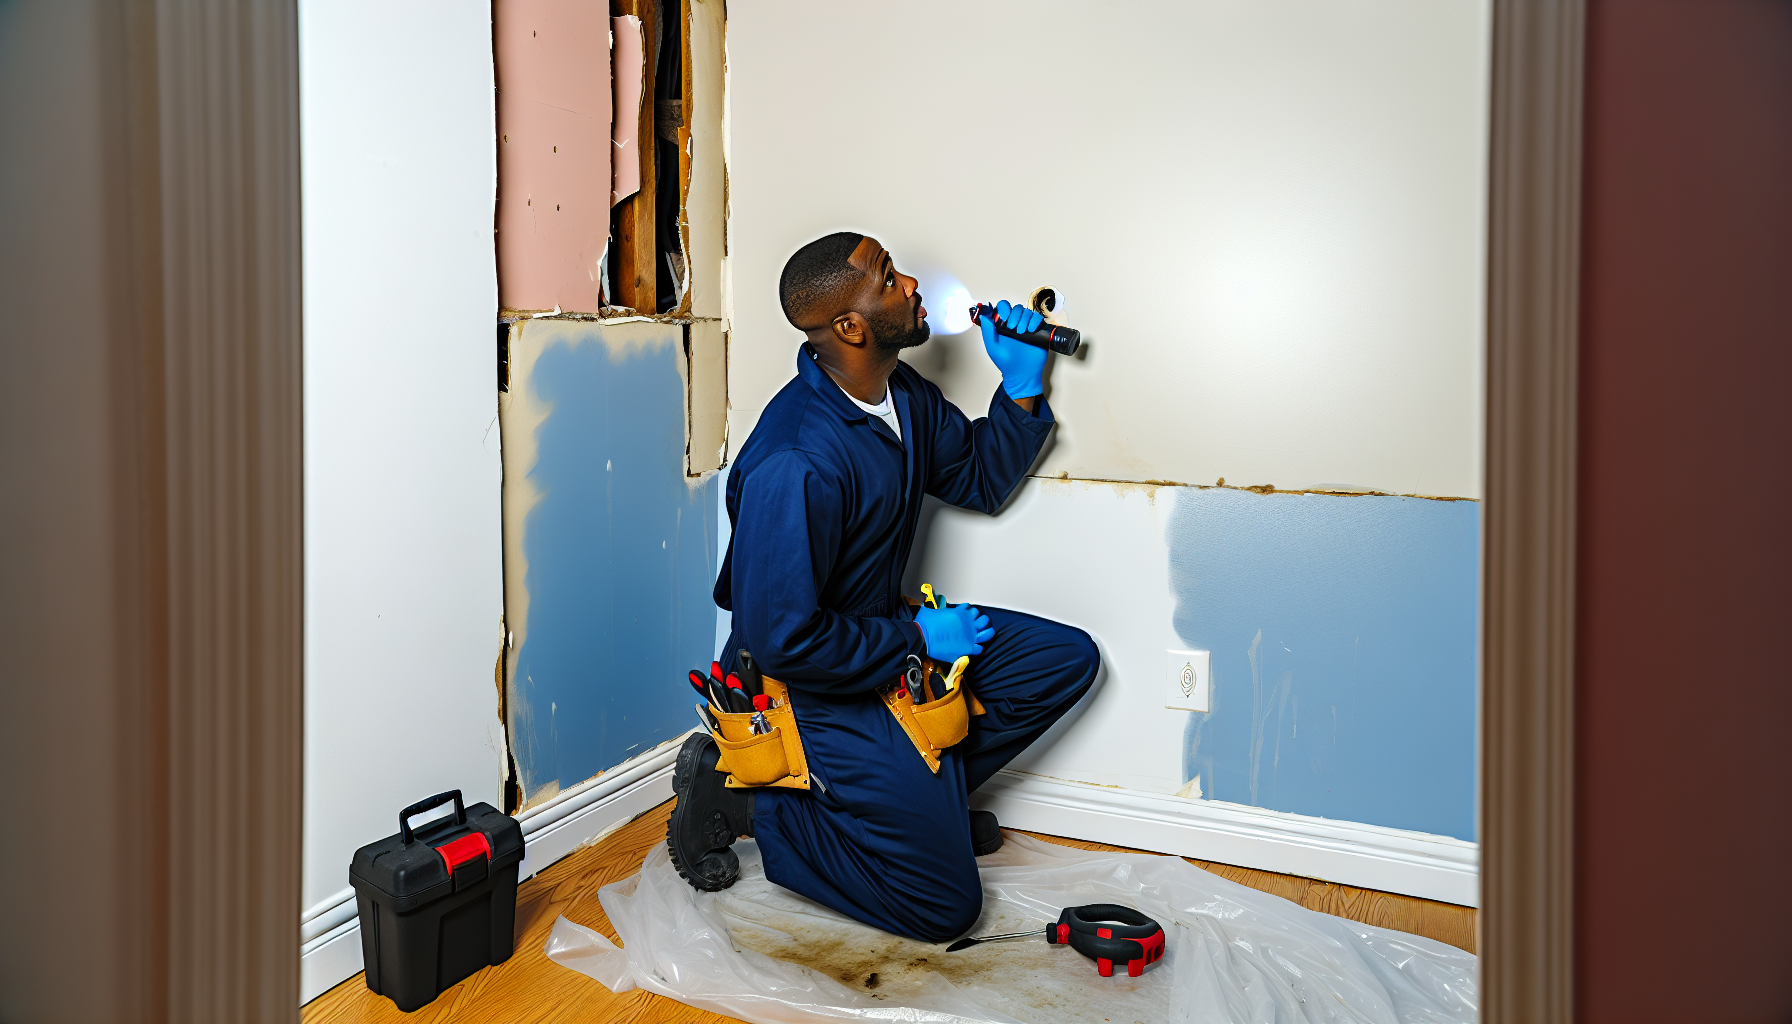
Identifying Water Damage on Drywall: Key Indicators
Water damage is a sneaky foe. It often starts off as a small, almost unnoticeable problem – a tiny stain here, a bit of peeling paint there – and before you know it, you’re dealing with full-blown structural damage. That’s why early identification of water damage signs on drywall is vitally important.
Visual and physical changes are your first line of defense in detecting water damage. Some signs to look out for include:
-
Discoloration
-
Water rings
-
Streaks running down the wall
-
Soft, mushy, or paste-like drywall
-
Puffed out or caved in drywall
These signs of water damage may indicate a problem, such as water leaks, and should be addressed promptly.
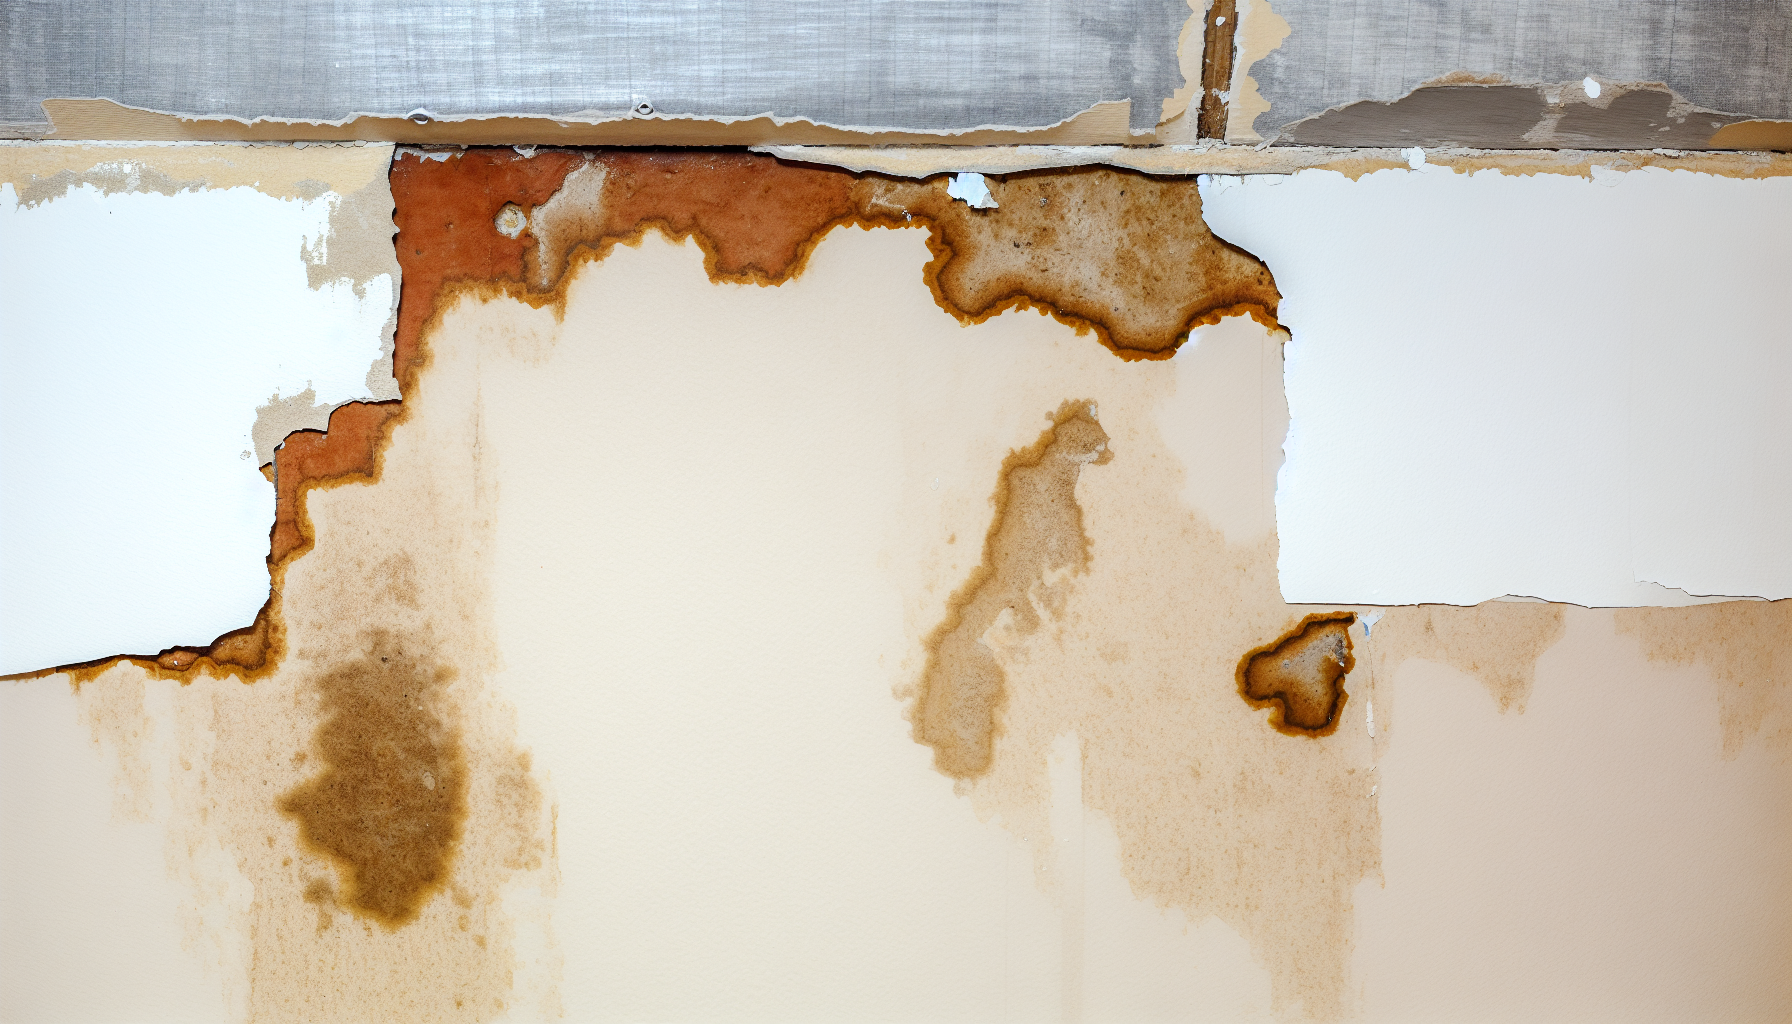
Discoloration and Stains

When it comes to water damage, your walls may be trying to tell you something. Brown water stains on white walls or deformed patches on darker walls are clear cries for help. These discolorations take the form of streaks or light brown water rings that could indicate an ongoing water leakage situation.
Think of these signs as a roadmap to the source of your problem. The length and shape of the streaks can give clues about the extent and source of the water damage. The key here is to be observant and take action at the first sight of these signs, as they usually indicate that water has been accumulating for some time.
Peeling or Flaking Paint
Another telltale sign of water damage is peeling or flaking paint. It’s a classic case of beauty being only skin deep. Beneath that beautiful coat of paint, excess moisture could be causing significant damage to your drywall.
When water seeps into the wall, it causes the paint to lose adhesion to the drywall surface, leading to lifting and eventual flaking. You might also notice the paint stretching and creating visible issues like cracked, bubbling, or flaking paint. Don’t ignore these signs – they’re your wall’s SOS signal!
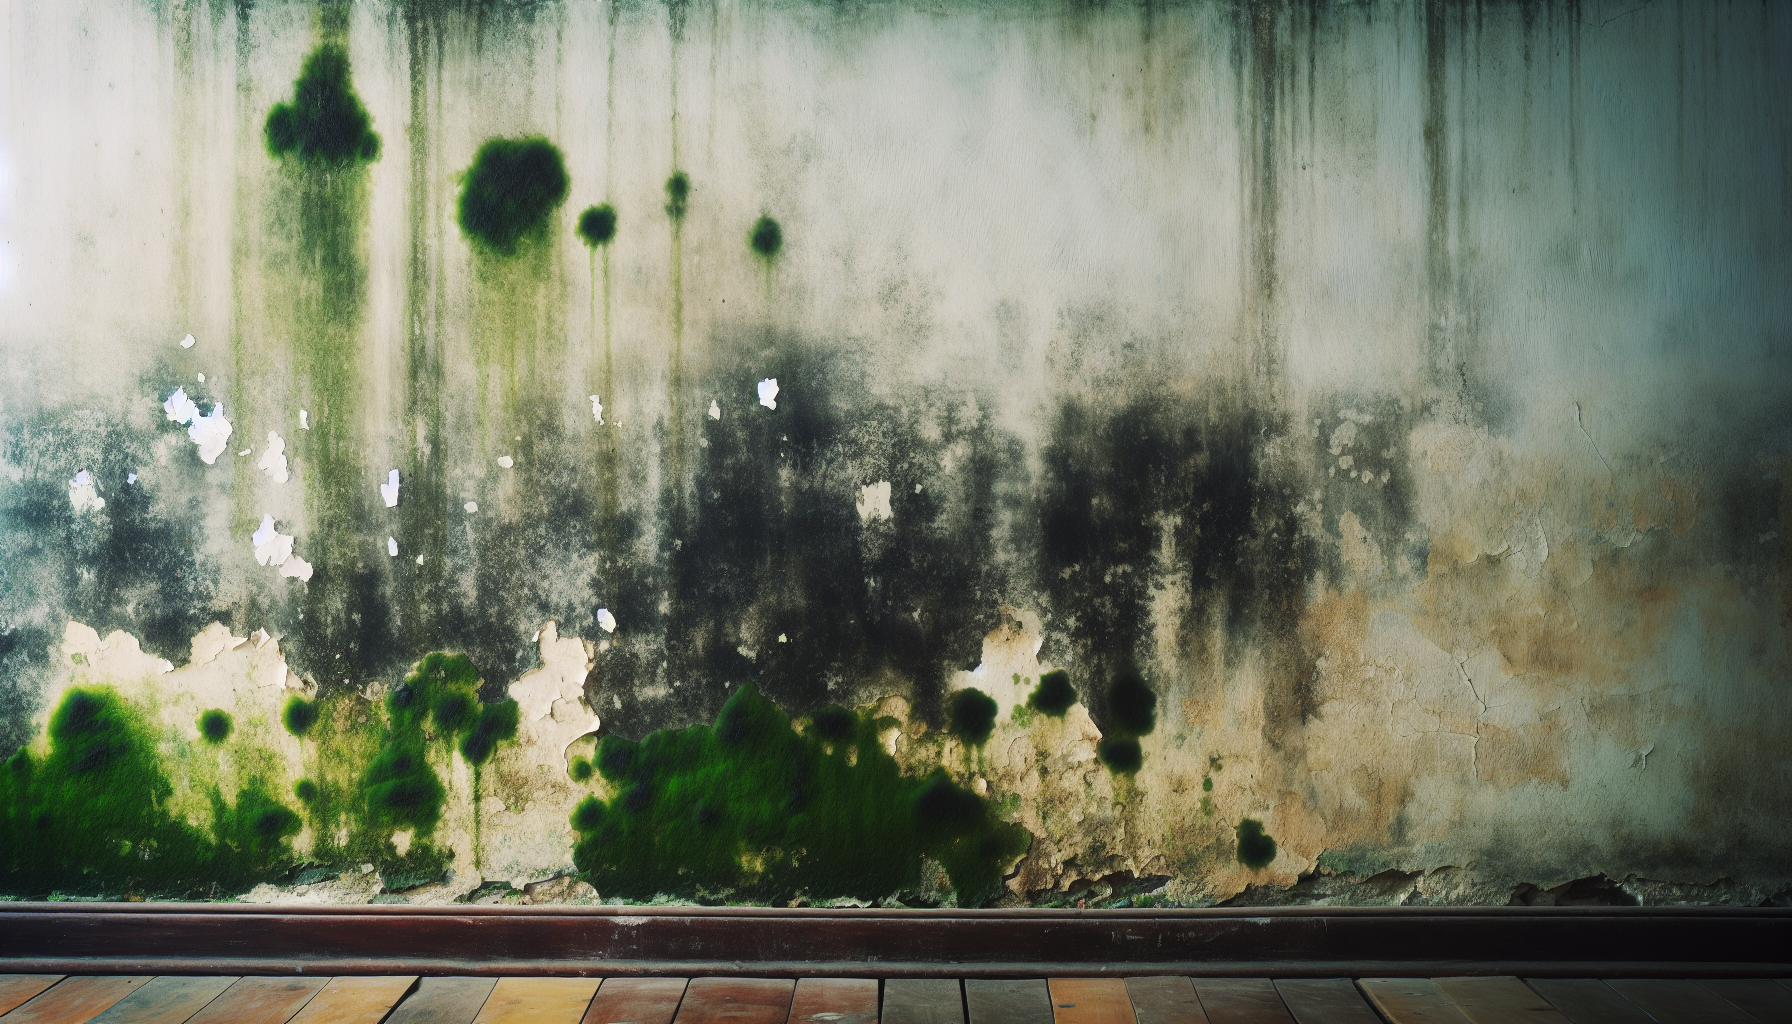
Mold Growth and Musty Smells
If you start noticing a musty odor in your home, it’s time to do some detective work. This smell often indicates a buildup of moisture within the walls, and where there’s moisture, mold isn’t far behind.
Visible mold can appear as spots ranging in color from light green to black and is generally accompanied by an unpleasant odor. It tends to grow in damp locations such as mold clusters in:
-
Bathrooms
-
Kitchens
-
Basements
-
Attics
Mold often starts in the seam areas of floors and ceilings. If you spot mold or smell a musty odor, it’s advised to call professional water mitigation experts to ensure the issue is addressed effectively.
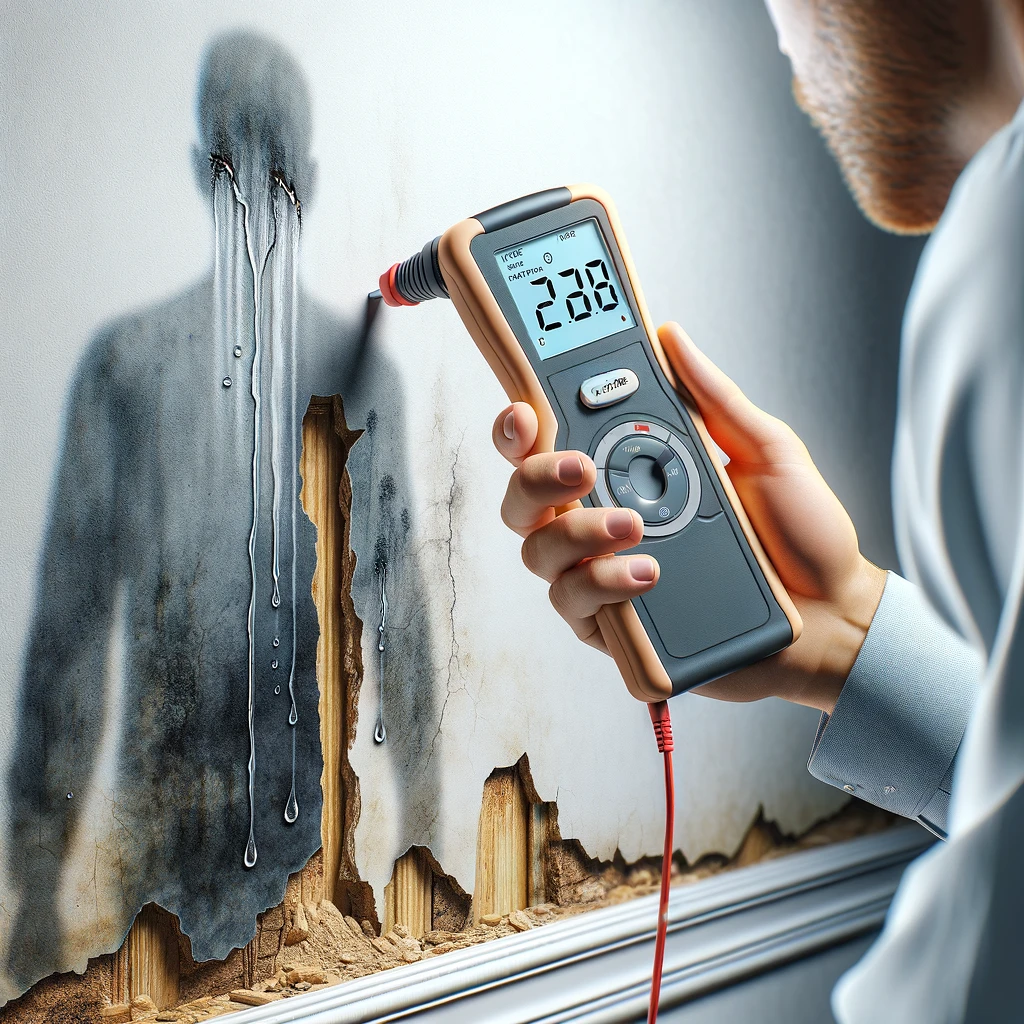
Using Moisture Meters to Detect Water Damage
Visual and olfactory cues are great for initial detection, but sometimes, water damage needs a more high-tech approach. Enter moisture meters, the unsung heroes of water damage detection. These handy devices play a pivotal role in evaluating the moisture condition of materials, both prior to initiating remediation work and confirming the removal of all excess moisture afterward.
There are two main types of moisture meters – penetrating and non-penetrating. Both types have their strengths and are used to measure the moisture content in walls without the need for invasive probing. It’s imperative to monitor moisture levels with a moisture meter to confirm the area is fully dry before advancing with repairs.
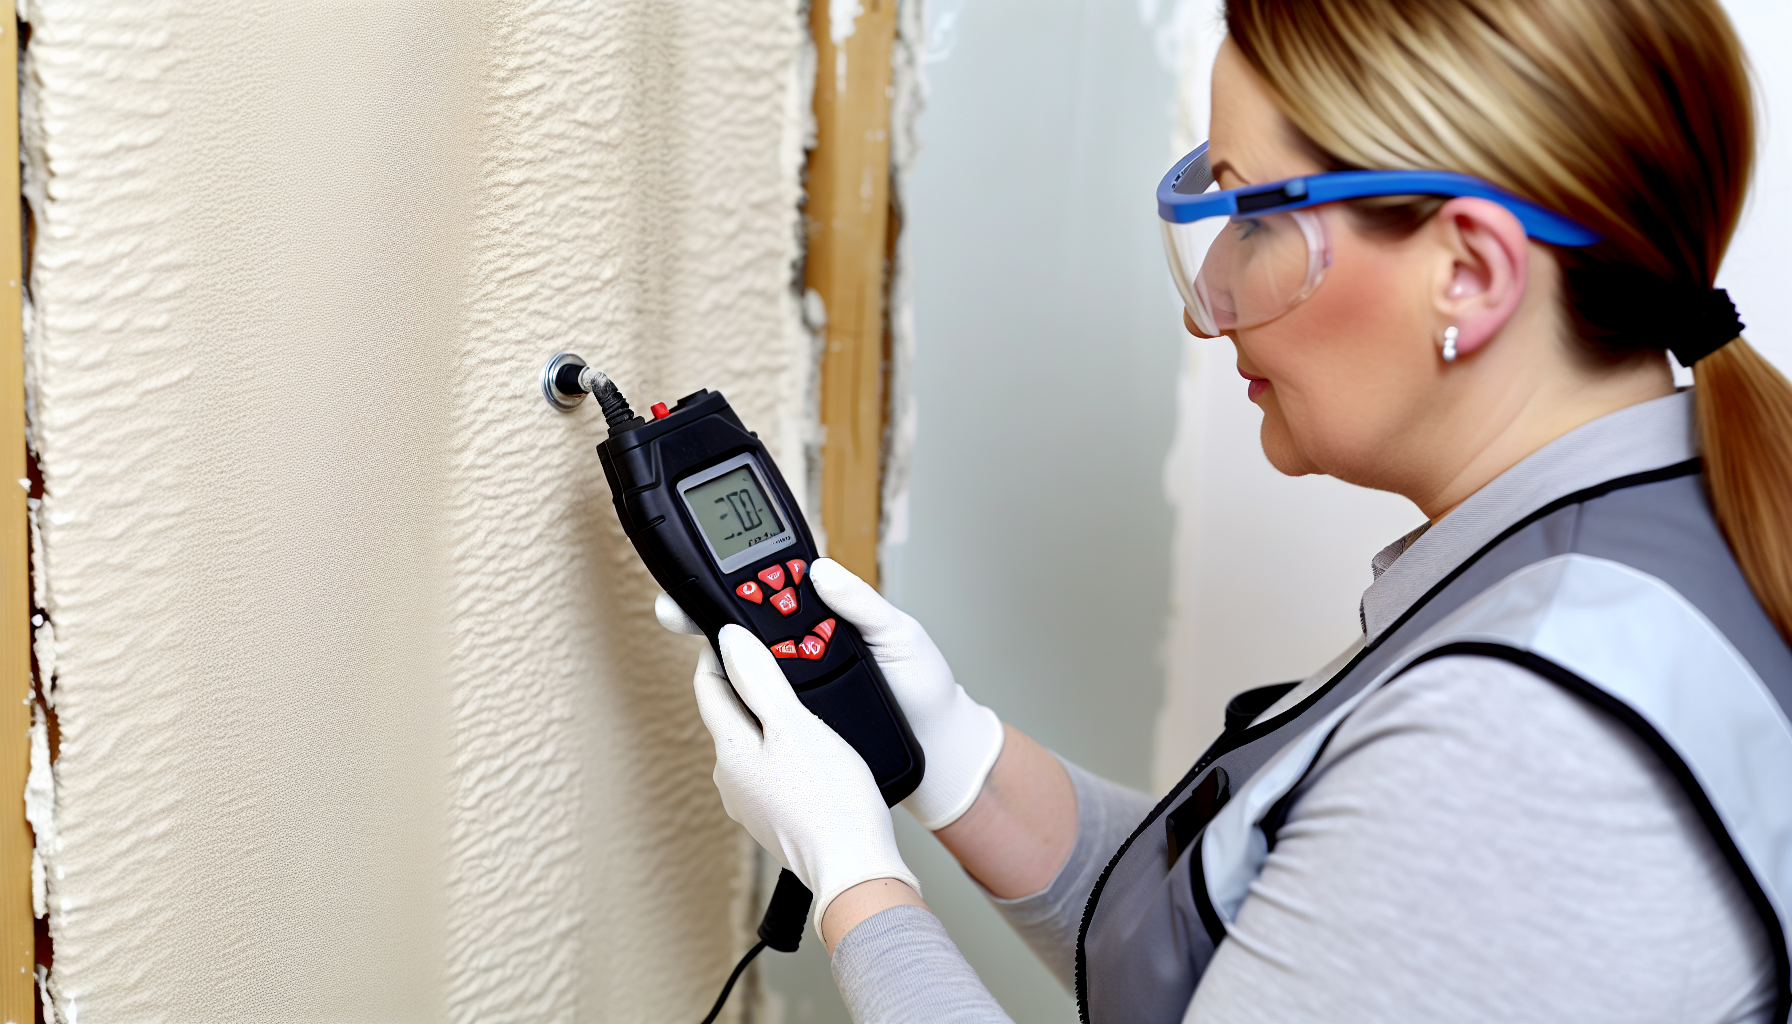
Penetrating Moisture Meters
Penetrating moisture meters, also known as penetrating moisture meter devices, work by using pins that physically penetrate the material to gauge moisture levels. Different lengths of pins allow for the measurement of moisture content at various depths, enabling precise assessments of moisture at different layers within the drywall.
However, their effectiveness can be impacted by the chemical composition of the material being tested. Despite this, they provide an exact moisture content reading at the depth of the pins, making them a valuable tool in the fight against water damage and detecting moisture inside.
Non-Penetrating Moisture Meters
On the other end of the spectrum, we have non penetrating moisture meter devices. These devices measure moisture using flat measuring plates or ball probes that rest on the surface, avoiding any damage to the drywall.
Non-penetrating moisture meters are particularly useful when assessing large drywall areas. They:
-
Quickly identify differential moisture levels without harming the wall
-
Provide an overview of moisture by indicating the average moisture within a certain field
-
Distinguish between surface wetness and moisture within the wall
These meters are a valuable tool for assessing moisture levels in drywall.
Choosing the Right Moisture Meter
The choice of an appropriate moisture meter depends on the requirements for detailed depth measurements, non-destructive testing, and the material under test. Moisture meters come with different scales each suited for certain types of measurements.
Dual-function moisture meters offer the best of both worlds, offering versatility during inspections. Pin-type meters are recommended for precise moisture content determination, while pinless meters are useful for initial moisture location surveys.
For substantial and comparable moisture level documentation, make sure to note down the moisture meter’s make, model, settings, and the details of the measurement environment.
Addressing the Issue: Steps to Fix Water Damaged Drywall
Detecting water damage marks the beginning. After pinpointing the problem, it’s time to initiate the work. Fixing water-damaged drywall involves a step-by-step process:
-
Locate the leak source
-
Remove affected materials
-
Dry the area
-
Replace damaged components
Take these steps seriously. Skipping or rushing through any of these could lead to more problems down the line, including recurrent water damage or even compromised structural integrity. We’ll delve into each of these steps in detail.
Locating the Source of the Leak
The first step to fixing water damaged drywall is to locate the source of the leak. This could be a dripping pipe, a leaky roof, or even condensation from your HVAC system. Once you’ve found the source, immediate repair is necessary to prevent further water damage.
If you’re having trouble finding the water leak, there are a few tricks you can try. For instance, a sudden or gradual increase in the water bill could suggest a hidden leak, and if running water sounds are detected with no active water appliances, it indicates the need to search for leaks. If all else fails, consider calling in a professional.
Removing Affected Drywall and Insulation
After locating and fixing the leak, the next step is to remove the affected drywall and insulation. This step is crucial for a couple of reasons. First, it allows any trapped moisture to escape, and second, it prevents the spread of mold and other water-related issues.
Remember, when it comes to removing drywall, safety first. Always wear protective equipment, including:
-
Safety glasses
-
Gloves
-
Reinforced footwear
-
Headgear
If the damage is extensive or if you’re unsure about any part of the process, don’t hesitate to call in a professional to prevent further damage.
Drying and Replacing Damaged Materials
Once you’ve removed the affected drywall and insulation, it’s time to dry out the area. This is where those moisture meters come in handy. Use them to check the moisture levels in the wall material and consider using fans to circulate air and speed up the drying process.
Next, replace any damaged studs or structural elements, and install new insulation. Replace the removed sections with new, dry drywall, and finish by taping and mudding the seams, sanding, priming, and painting to match the surrounding wall.
Preventing Future Water Damage on Drywall
After all the hard work of detecting and fixing water damage, the last thing you want is to go through it all over again. This stresses the importance of taking preventive measures to ward off future water damage on drywall.
There are several ways to do this, from using waterproofing solutions to conducting regular maintenance and inspections. By being proactive, you can save yourself a lot of trouble (and money) down the line.
Waterproofing Solutions
One of the best ways to prevent future water damage on wet drywall is through waterproofing. This involves applying a waterproof primer to the drywall to form a protective barrier against moisture intrusion.
There are also specialized drywall products on the market that offer added protection for your wall surface against moisture and wet insulation. For instance, Greenboard drywall has a waxy coating and added chemicals that make it more resistant to moisture, making it ideal for use in humid areas like bathrooms and basements.
Regular Maintenance and Inspections
Consistent maintenance and inspections also play a key role in averting water damage on drywall. By catching problems early, you can often prevent minor issues from turning into major ones.
This includes keeping drywall areas well-ventilated, particularly in rooms with high humidity, to prevent the accumulation of moisture. It also means carrying out preventative plumbing maintenance, such as the installation of pressure-reducing valves and replacement of outdated fixtures, to prevent pipe bursts and leaks that could result in water damage.
Summary
Water damage on drywall can be a serious issue if left unchecked. It can lead to structural damage, mold growth, and other issues that can compromise the integrity of your home and your health. But with early detection and remediation, you can nip these problems in the bud.
Remember, the key to dealing with water damage is to stay vigilant. Look out for signs of water damage, such as discoloration and peeling paint. Use moisture meters to accurately assess the moisture condition of your walls. And most importantly, take action at the first sign of trouble. By doing so, you can maintain the integrity of your home and enjoy peace of mind.
Frequently Asked Questions
How can you tell if drywall is water-damaged?
You can tell if drywall is water-damaged by looking for peeling, bubbling, or flaking paint, small hairline cracks or a larger spiderwebbed pattern of cracks, water rings, and mold growth, especially in corners and humid areas. Musty smells and softness to the touch are also signs of water damage.
How do you detect moisture behind drywall?
You can detect moisture behind drywall using a pinless moisture meter, which accurately locates and measures elevated moisture levels without damaging the wall’s surface. This method provides an efficient way to identify and address moisture issues in walls.
How do moisture meters work?
Moisture meters work by measuring the moisture content in materials using either penetrating or non-penetrating methods. These tools provide accurate readings of moisture levels, making them essential for various industries and applications.
How do I fix water-damaged drywall?
To fix water-damaged drywall, you need to find and fix the leak, remove the affected materials, and then dry and replace the damaged components.
How can I prevent future water damage on drywall?
To prevent future water damage on drywall, use waterproofing solutions and perform regular maintenance and inspections. These measures will help protect your drywall from future water damage.