Facing unwanted water in your home and wondering, what is the best way to remove water from your house? This no-nonsense guide jumps straight to effective strategies for water extraction, equipment essentials, and step-by-step removal techniques. Prep yourself with the know-how to efficiently dry out your space—the right way.
Key Takeaways
-
Effective water removal starts with assessing the source and severity of water damage, identifying the origin like burst pipes or heavy rainfall, and determining the extent of damage to materials, which influences the restoration plan.
-
Essential equipment for water removal includes sump pumps for large water volumes, wet vacuums for smaller puddles, dehumidifiers for extracting moisture from the air, and personal protective gear for safety during the cleanup process.
-
The comprehensive water removal process involves initial assessment and precautions like turning off power and gas, extracting standing water using pumps and vacuums, drying and dehumidifying damp materials, and cleaning and disinfecting affected areas to prevent mold and ensure safety.
Assessing the Situation: Understanding the Source and Severity
The first step of dealing with water damage involves getting a clear understanding of the situation. It’s not just about getting rid of the water; it’s about understanding where it came from and how severe the damage is. This assessment will help you decide which materials can be salvaged and which need to be replaced.
Having a thorough assessment in hand paves the way to formulating a detailed restoration plan. It’s about being strategic, not just reactive. A more effective and efficient water removal process is guaranteed once you identify the source and understand the severity.
Identifying the Source
So, what’s the origin of the water? Common sources of water damage within a home include burst pipes, heavy rainfall, and appliance malfunctions. But how can you identify these sources? One indicator is water stains on walls, floors, or ceilings, which can suggest an ongoing but undetected leak.
Another sign is persistent humidity or dampness in areas of a home. This often signals the presence of an undetected water leak. Unusual noises, like scratching or the sound of water rushing within walls, could also point to a hidden water leak. Awareness and vigilance are key to early detection and swift action.
Determining Severity
After identifying the water source, it’s time to gauge the severity of the water damage. Don’t underestimate the damage water can do; it often manifests quickly, damaging wood, fabric, and causing immediate discoloration and rings on surfaces, which signal ongoing moisture issues.
Importantly, the longer water damage remains unaddressed, the more severe it becomes. Mold and mildew growth can potentially start within 48 hours, causing further damage to materials and worsening odors. High humidity levels can extend drying times and intensify water damage, exacerbating conditions conducive to long-lasting damage.
Essential Equipment for Removing Water

Having the right tools at your disposal allows for efficient water removal from your home. The essential equipment for water removal includes:
-
Sump pumps
-
Wet vacuums
-
Dehumidifiers
-
Protective gear
Each tool has a unique role to play in this process. Here are the tools you will need:
-
Sump pumps: handle the heavy lifting by removing large amounts of standing water
-
Wet vacuums and shop vacs: remove smaller amounts of water and clean up after large-scale water removal
-
Dehumidifiers: used to remove moisture from the air during the water removal process
-
Protective gear: ensures your safety during this process.
Sump Pumps
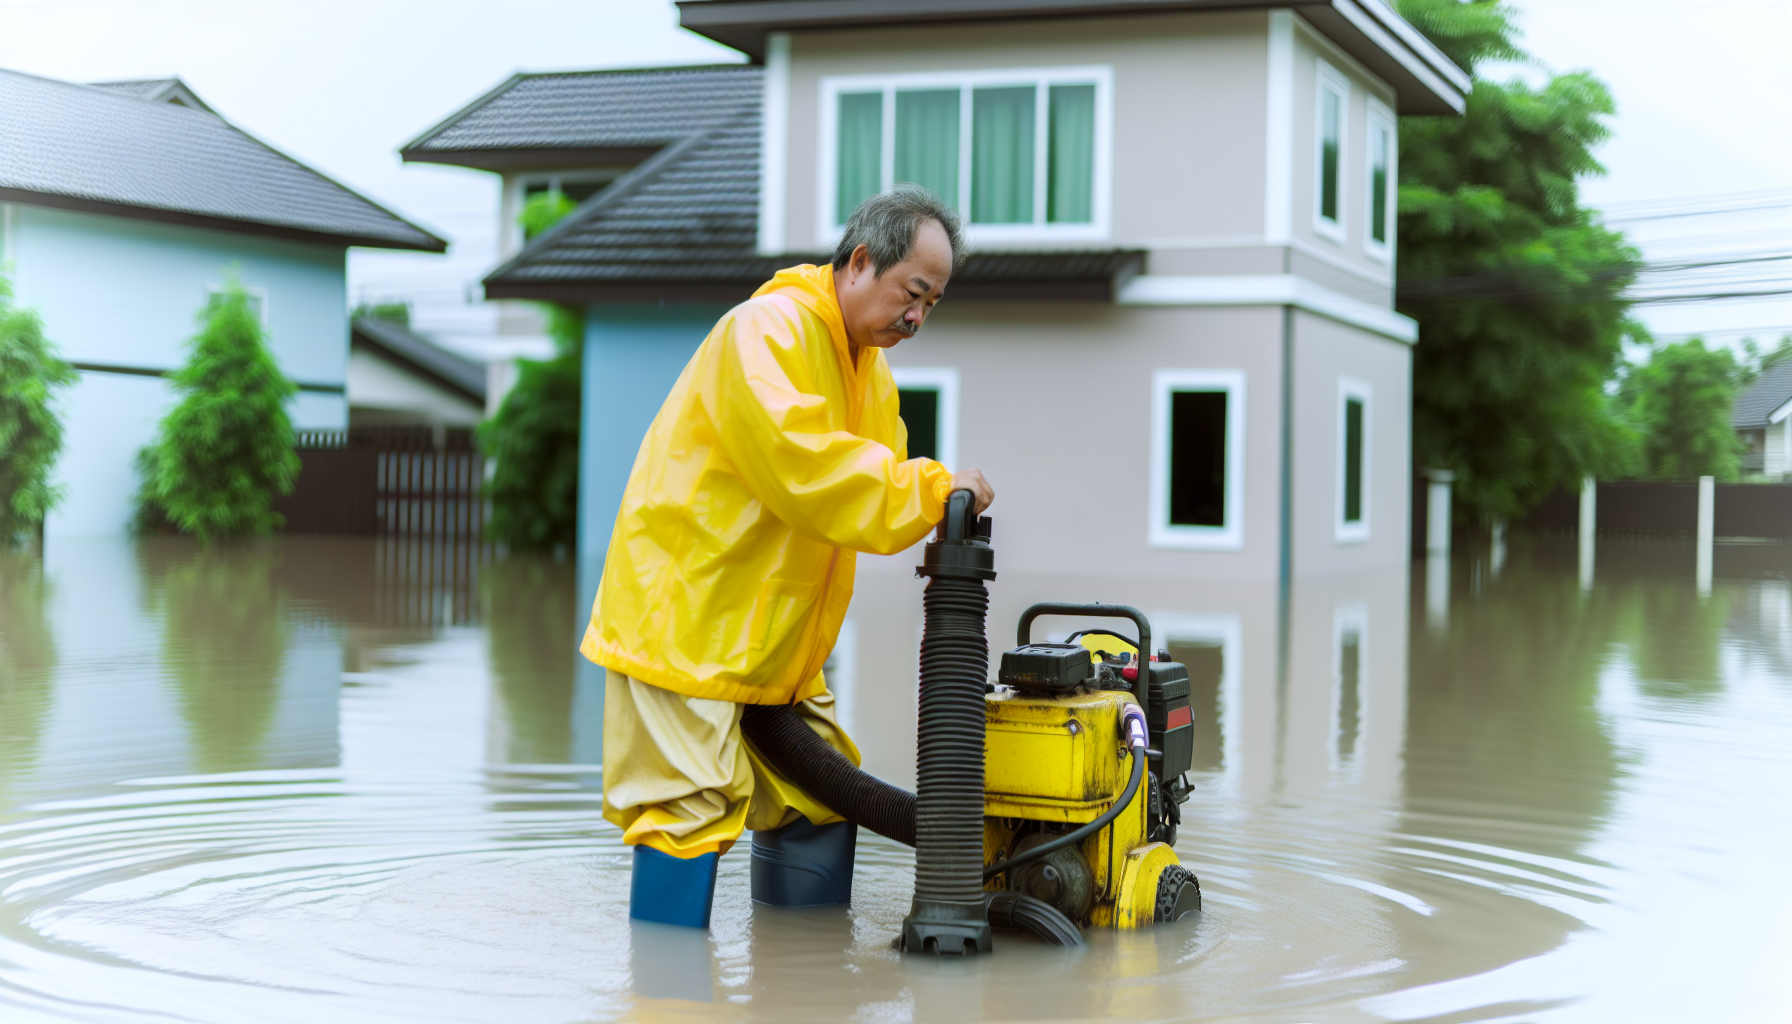
Sump pumps, especially useful in flooded basements, are integral to water removal. They are capable of handling clean groundwater, but should not be used for water from appliances like washing machines. There are two main types of sump pumps: pedestal and submersible, with submersible ones being designed to operate while submerged in water.
When choosing a sump pump, consider the following factors:
-
Flow rate
-
Maximum elevation height
-
Horsepower needed for the water removal task
-
Construction materials, which can affect the pump’s durability and price.
Wet Vacuums and Shop Vacs
For removing smaller amounts of water, nothing beats wet vacuums and shop vacs. They offer the convenience of portability and ease of use. These vacuums can effectively clean up floors and surfaces after most of the water has been extracted, ensuring no residual puddles or moisture remain that could lead to mold or mildew.
After large-scale water removal, such as with a sump pump, a wet vacuum and shop vacs are invaluable for addressing residual trapped water, providing finer control over water extraction and ensuring floor drains are clear.
Dehumidifiers
In addition to removing water, it’s also necessary to eliminate excess moisture from the air to ward off the growth of mold and mildew. That’s where dehumidifiers come in. They operate by:
-
Pulling in humid air
-
Cooling it to condense the moisture
-
Reheating and releasing the dry air back into the environment to further reduce humidity levels.
There are several types of dehumidifiers tailored for specific applications, from ongoing humidity control to emergency water damage response. Low Grain Refrigerant (LGR) dehumidifiers, for example, are effective in water damage restoration, swiftly handling larger areas by efficiently cooling and capturing moisture.
Protective Gear
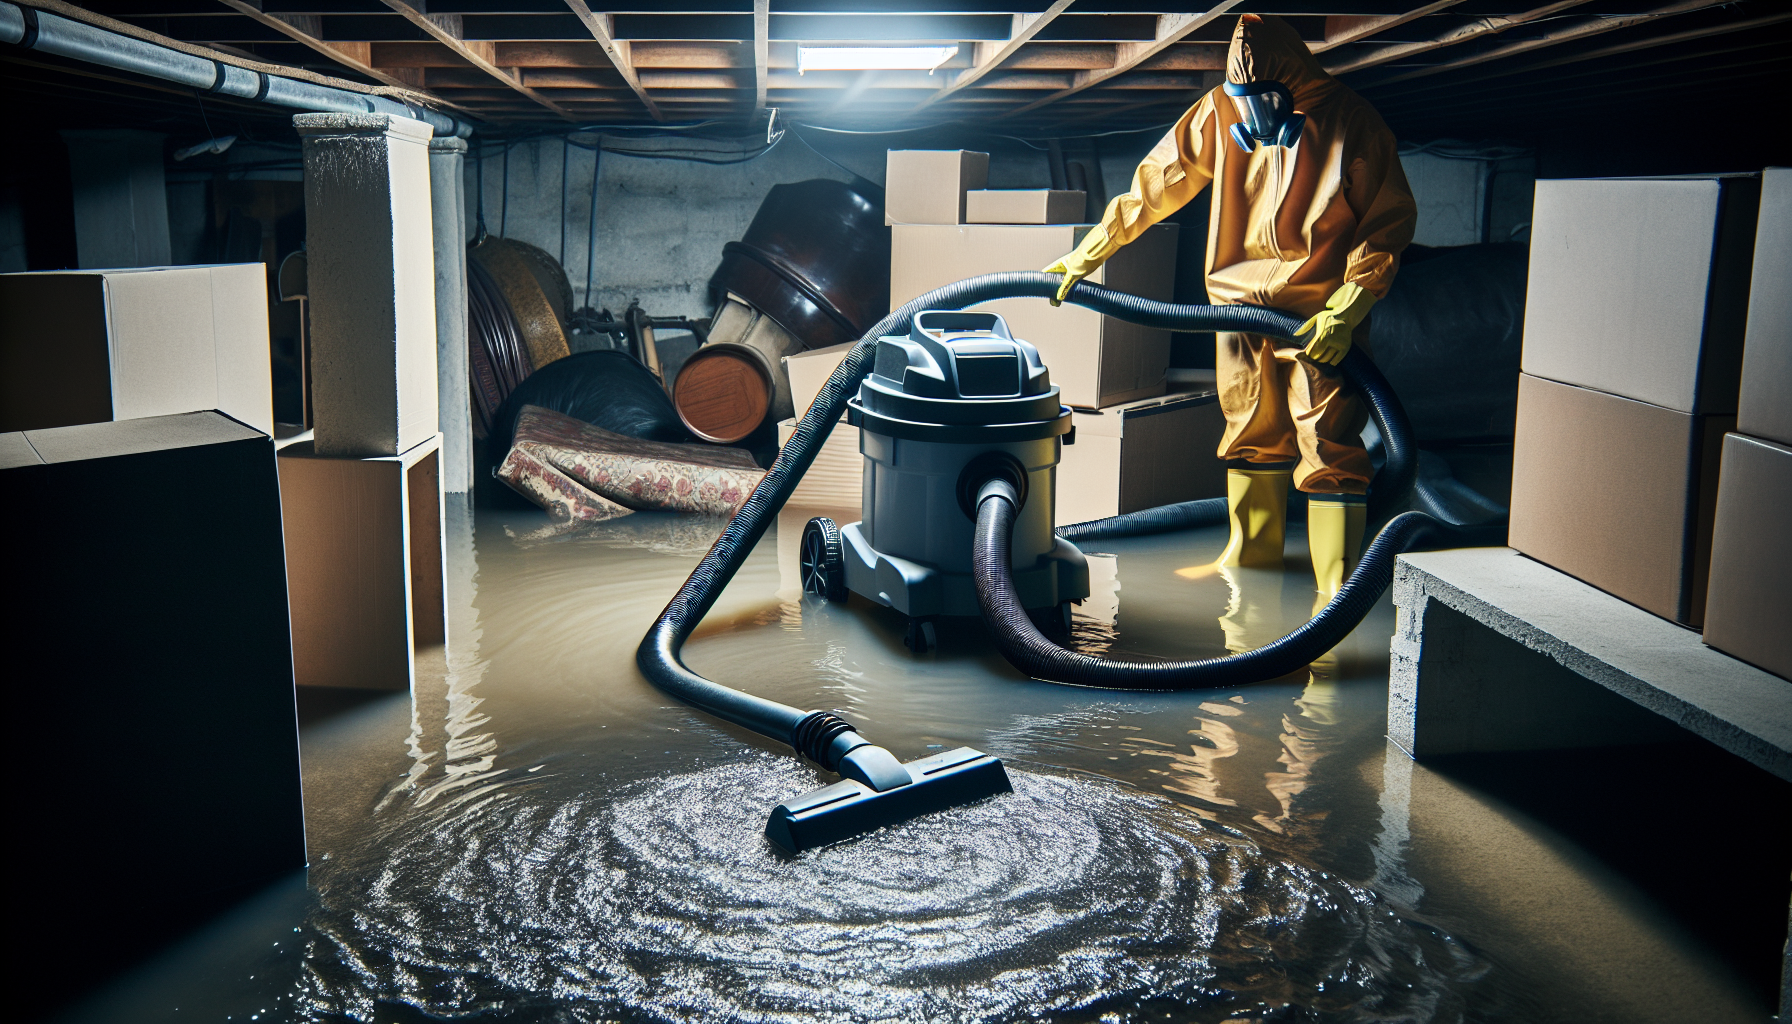
In the process of water removal, personal safety takes precedence. The recommended Personal Protective Equipment (PPE) includes:
-
Respirators
-
Chemical resistant gloves
-
Safety goggles or face shields
-
Protective clothing like Tyvek suits
Wearing appropriate PPE, such as wear waterproof boots, is not just a recommendation – it’s a necessity to avoid direct skin contact with potentially contaminated flood waters and to mitigate the risk of spreading contaminants around the home during water damage cleanup.
Step-by-Step Guide to Water Removal

Having assessed the situation and gathered the necessary equipment, it’s now time to jump into action. The process of water removal can be broken down into four main steps:
-
Initial assessment and precautions
-
Extracting standing water
-
Drying and dehumidifying
-
Cleaning and disinfecting
Each step is crucial and contributes to a comprehensive water removal process that not only removes the water but also ensures your home is safe and dry, ready for restoration.
Initial Assessment and Precautions
Before embarking on the water removal journey, taking some initial precautions is of utmost importance. To avoid the risk of as much standing water coming into contact with an electrical source, it’s important to turn off the home’s power before starting any clean-up. If standing water might prevent safely reaching the main power switch, calling in an electrician to turn off the power is recommended.
For homes with gas appliances, it’s necessary to shut off the main gas line to prevent potential gas leaks or fires. If a pipe burst is the source of water damage, turning off your home’s water supply is the immediate step to take to prevent further damage. And, to prevent spreading contaminants, avoid using central air or heating systems if the ductwork has been submerged.
Extracting Standing Water
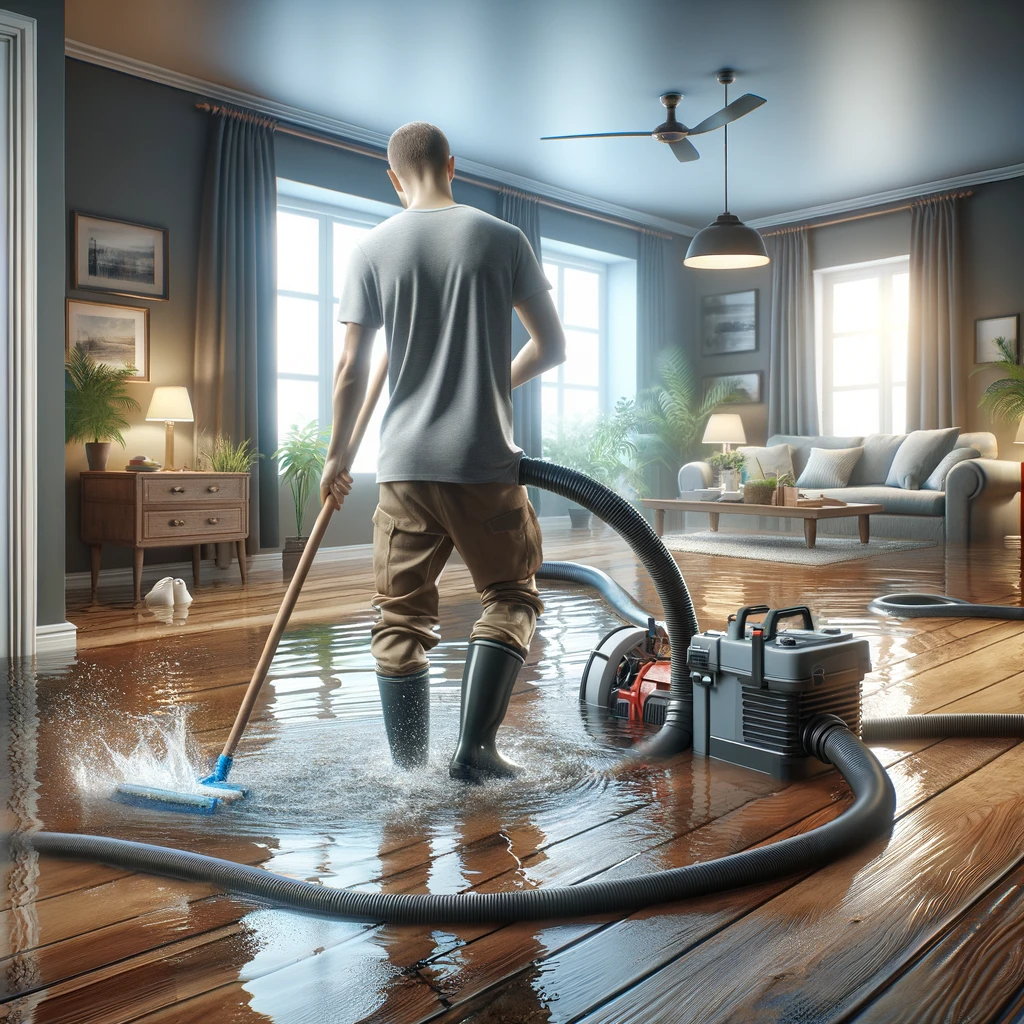
Now, let’s turn our attention to the main task – water extraction. Effective extraction of remaining water can be accomplished by utilizing various methods such as:
-
Vacuuming
-
Mopping
-
Sweeping
-
Pumping out with a submersible pump
For standing water removal, vacuuming is one of the most efficient methods. But before vacuuming water with a shop vac, confirm it’s designed for liquid extraction and remove any dry filters to prevent damage. A larger capacity vacuum reduces the frequency of emptying the canister, and ensures no overfilling occurs. And, don’t forget about proper water disposal, particularly if the water contains contaminants.
Drying and Dehumidifying
After the standing water is extracted, it’s time to focus on drying and dehumidifying. This is where your dehumidifiers and fans come into play, pulling moisture from water-damaged materials and accelerating drying by circulating air. These devices effectively absorb moisture, ensuring a thorough drying process.
To address trapped moisture, follow these steps:
-
Open cabinet and closet doors, and remove drawers to enhance drying and prevent mold in hidden spaces.
-
For valuables and materials like photos, papers, and textiles, use airborne drying methods.
-
Items unable to dry within 48 hours should be frozen to stop mold growth.
Cleaning and Disinfecting
Once the drying and dehumidifying part is done, the next phase involves cleaning and disinfecting. This step is essential to ensure that your home is not only completely dry but also safe. Use solutions like household ammonia or trisodium phosphate to disinfect hard surfaces such as walls and woodwork.
When cleaning carpets and furniture, use diluted chlorine bleach to rinse and disinfect. For washable textiles that cannot handle chlorine, use Lysol or pine oil disinfectants such as Pine Sol. Dispose of large water-soaked items like rugs and upholstered furniture outdoors, lift vinyl or linoleum flooring for sub-floor drying, and remove wet insulation.
Most importantly, always remember to clean and disinfect vacuum canisters and accessories after use, and handle photographs and delicate items with care.
Preventing Future Water Damage
Having successfully carried out water removal and restoration, it’s important to take preventive measures against future water damage. Here are some practices that can help prevent water damage:
-
Regular checks of hoses and faucets
-
Inspections for leaks in appliances such as refrigerators and washing machines
-
Monitoring your home for leaks, mold, and cracks
By following these preventive measures, you can reduce the risk of water damage in your home.
To prevent water damage, you can take the following measures:
-
Maintain proper water pressure and install a pressure regulator to prevent pipe failure.
-
Regularly inspect your roof and chimney for damage.
-
Ensure gutters and downspouts are clean and functioning properly.
-
Keep trees trimmed and at a safe distance from pipes and drainage fields.
-
Install water alarms in key areas to detect leaks and water damage.
By implementing these measures, including the installation of a water meter, you can help prevent future water damage.
When to Call in Professionals
Despite DIY methods being capable of tackling smaller water damage issues, there are times when resorting to professional help becomes necessary. Large-scale flooding or severe flood water damage in a flooded basement that DIY methods cannot handle effectively are cases when you should call in the professionals, especially when dealing with a flooded house. In such situations, even a quick visit to your local hardware store won’t be enough to resolve the issue.
Professionals provide rapid and efficient water removal services that are essential for mitigating further damage to the structure and property. Moreover, experts have the ability to evaluate and potentially salvage water-damaged personal items, which may be beyond the skillset of the average homeowner. Therefore, immediate professional intervention is recommended to minimize the extent of damage, particularly in widespread incidents with high demand for services.
Summary
Water damage in your home can be a daunting experience, but with the right knowledge and tools, you can tackle it head-on. From assessing the situation to taking necessary precautions, using the right equipment, and following a systematic approach for water removal, you can restore your home and prevent future water damage.
Remember, while DIY methods can handle smaller water damage issues, don’t hesitate to call in professionals for large-scale flooding or severe water damage. It’s all about taking swift action, being thorough, and ensuring your home is safe, dry, and restored.
Frequently Asked Questions
How do I get rid of water in my house?
To get rid of water in your house, use a variety of methods such as squeegeeing, mopping, sweeping, vacuuming, or using a submersible pump. Start in the center of the room when extracting water and move any contents to the center so you can extract around the perimeter.
How do you dry out a flooded house?
After turning off the water supply, open doors and windows to allow moist air to escape, then use fans and a wet/dry vacuum to dry out the flooded area.
What are the common sources of water damage?
Common sources of water damage in a home can include burst pipes, heavy rainfall, and appliance malfunctions, as well as indicators like persistent humidity or unusual noises from undetected leaks.
What equipment is needed for water removal?
To remove water, you will need sump pumps, wet vacuums, dehumidifiers, and protective gear to ensure a safe and effective process.
How can I prevent future water damage?
To prevent future water damage, regularly check hoses, faucets, and appliances for leaks, monitor your home for signs of damage, and consider installing water alarms in key areas to alert you of any issues. Taking these measures can help protect your home from potential water damage.
[/et_pb_text][/et_pb_column][/et_pb_row][/et_pb_section]


