How to Fix Water-Damaged Wood: A Comprehensive Guide
It’s no great secret that water and wood do not always make ideal companions. When thrown together and given enough time, the end result is usually one of rot, warping, or even complete structural failure – the latter happening far more often than you might imagine.
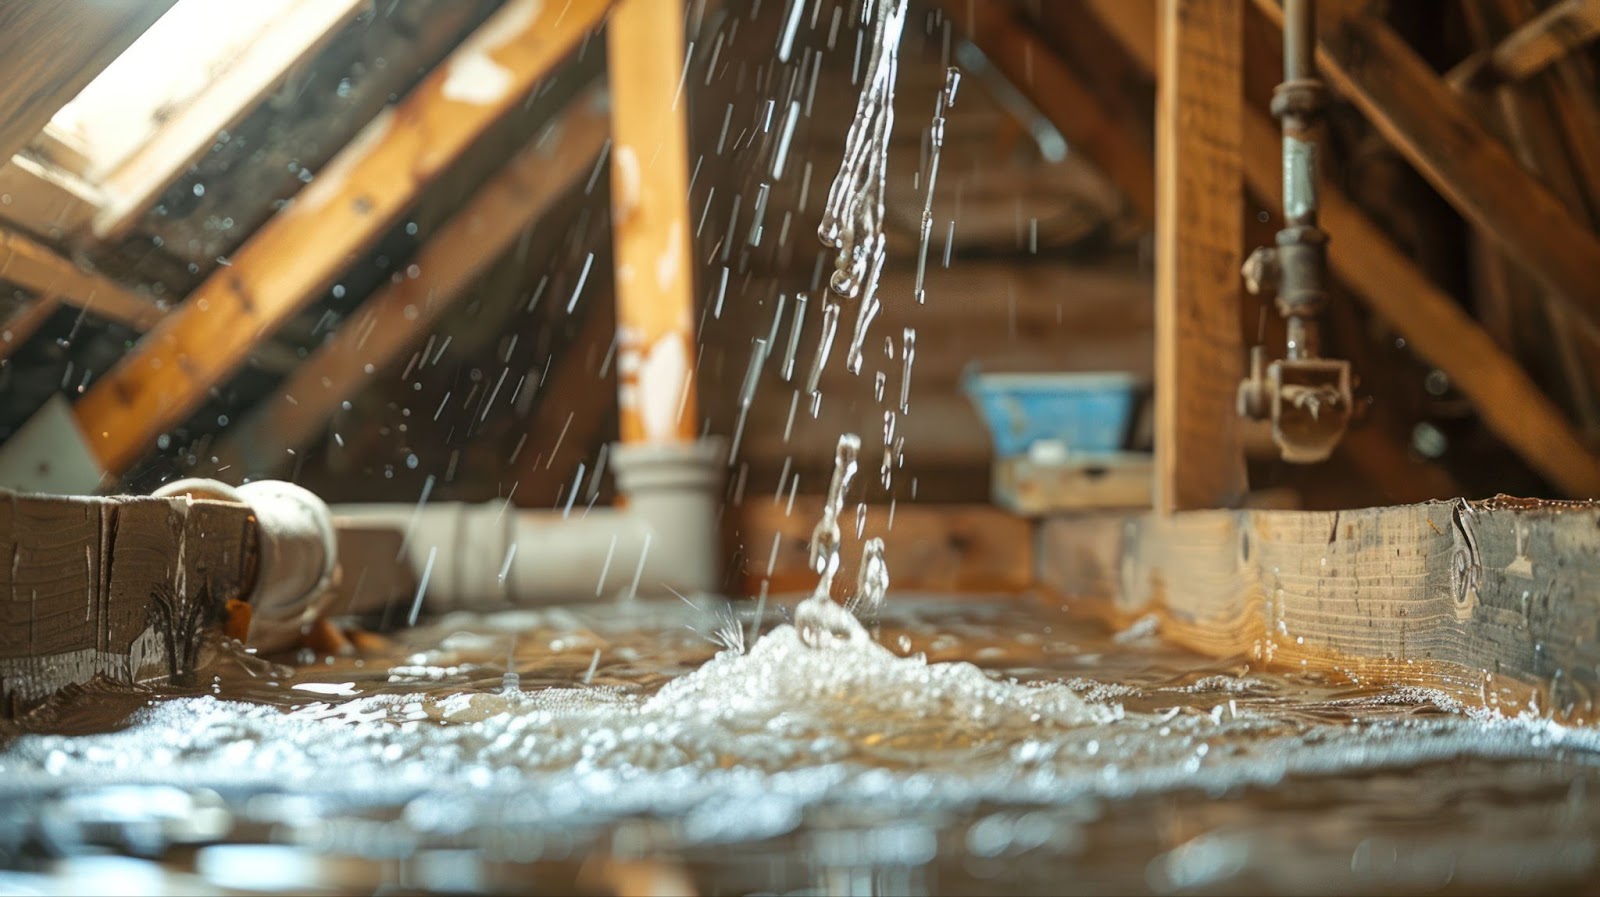
If left unprotected, water damage will wreak chaos on wood if given the opportunity. The most common reasons are plumbing leaks, flooding, or something presenting a less apparent threat, like high humidity. Either way, addressing the issue quickly is important to prevent further damage.
Learn How to Fix Water-Damaged Wood
This short, easy-to-grasp guide will explain (in simple terms) how to fix water-damaged wood, covering everything from identifying the damage to practical, transferable steps and preventative measures.
Follow these tips, and you will be able to address minor issues easily – or decide when it’s best to call a professional to repair water damage to wood. Armed with the right tools and techniques, restoring wood after water damage is far more achievable than you might think.
Let’s start by looking at the causes and signs of water damage on wood before jumping into a few tips and tricks for how to fix water damaged wood effectively.
Common Causes of Water Damage to Wood
Wood is highly susceptible to damage from prolonged exposure to moisture, which can result in leaks from plumbing issues, roof damage, or faulty appliances. Flooding, whether from heavy rain or sudden burst pipes, will also cause severe water damage to wood.
High indoor humidity levels, often caused by poor ventilation and spills that aren’t promptly cleaned up, further contribute to this common problem.
The science behind it is quite simple: when wood absorbs moisture, it begins to swell, warp, weaken, and discolor. As a result, when the problem takes hold and is allowed to set in, repairing water-damaged wood becomes even more challenging when ignored. Given enough time, trapped moisture can also promote mold growth, worsening the damage and introducing health risks.
Early detection is key. If you can identify the issue, you have a much greater chance of minimizing long-term harm. With that in mind, identifying the source of moisture and addressing it quickly is the first step in learning how to fix water-damaged wood.
5 Signs of Water Damage in Wood
Your first step in addressing this issue is to be proactive by recognizing early signs of water damage on wood. Forewarned is forearmed, as the saying goes, and helps prevent further deterioration.
Both physical and structural indicators can reveal that moisture has infiltrated the wood. Addressing the following signs and issues hastily can save time and money while ensuring effective repairs:
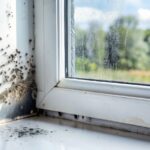
- Discoloration or Stains: Water damage on wood often shows dark or discolored spots, which are early signs of moisture retention. These stains may appear black, green, or gray, especially when mold begins to grow.
- Mold Growth: Mold or mildew patches on the surface indicate prolonged exposure to moisture. This is a health risk and a clear sign that restoring wood after water damage is necessary.
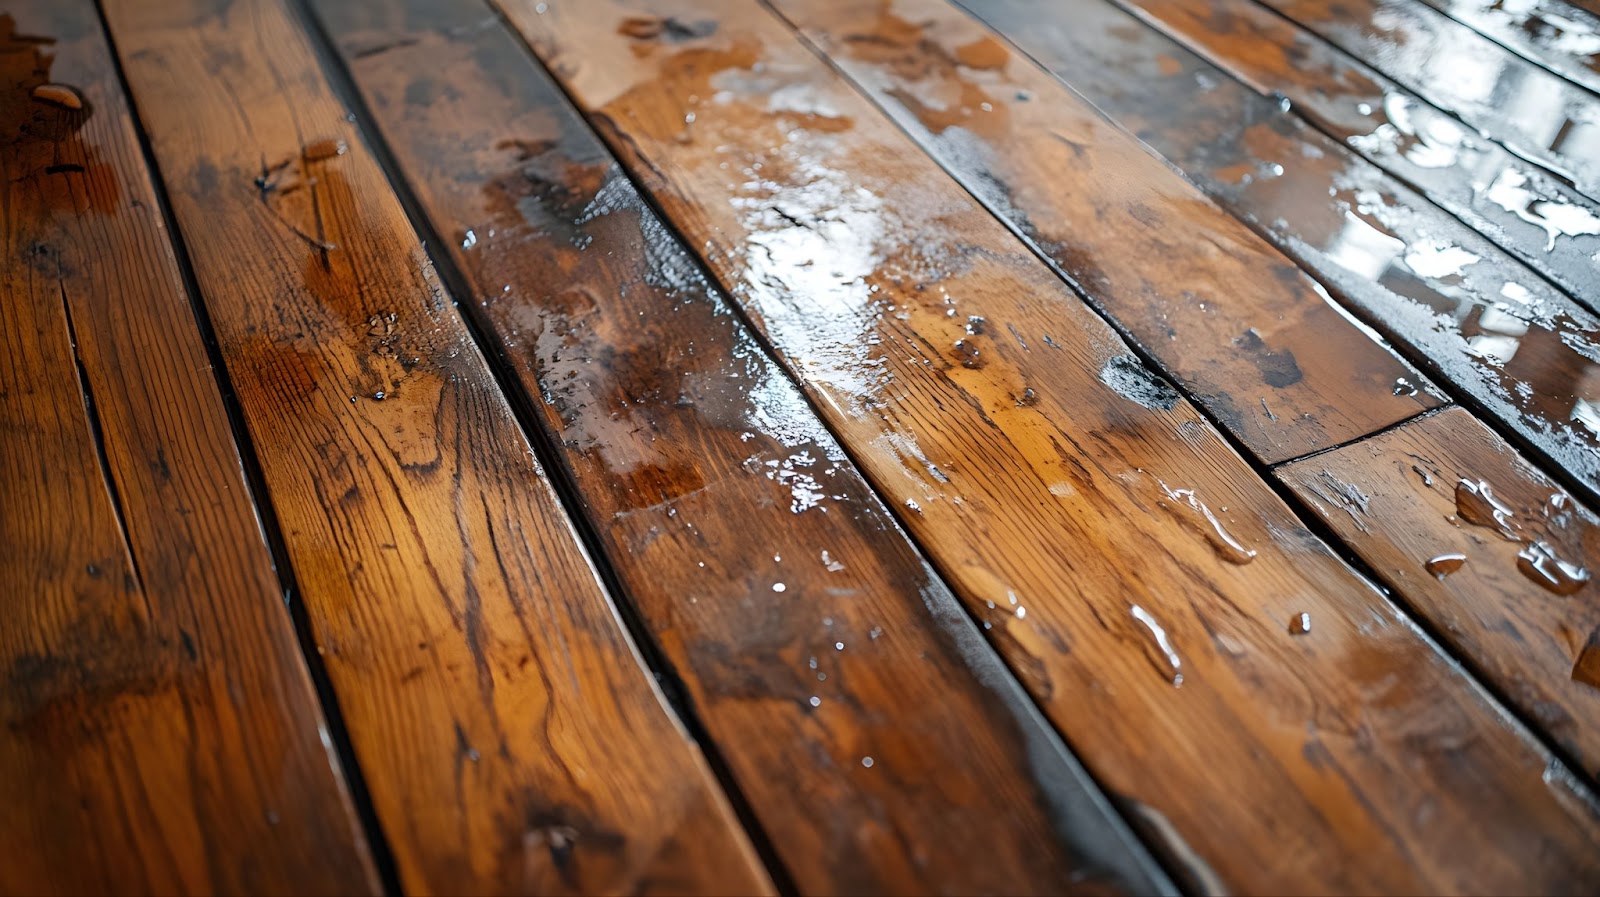
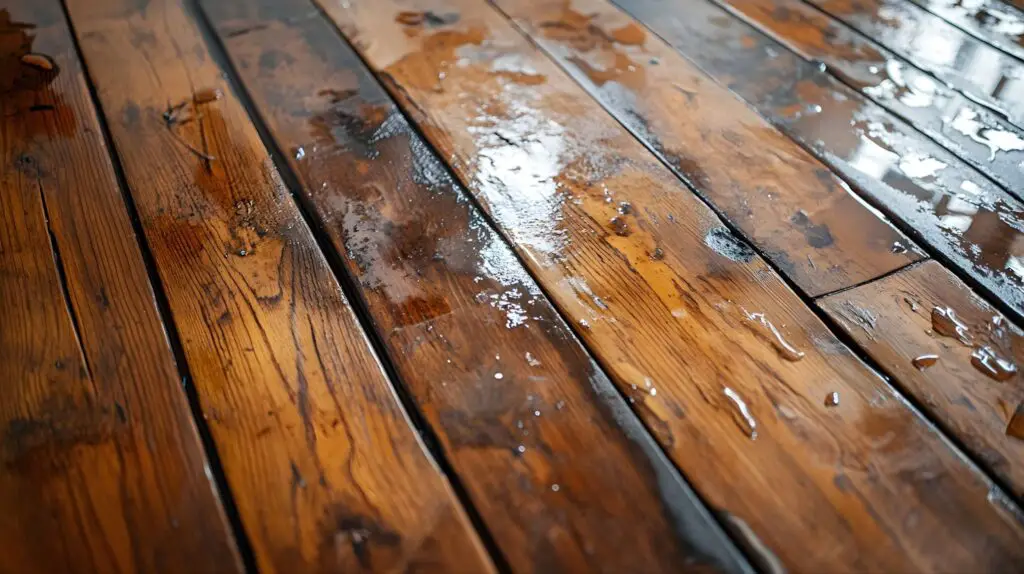
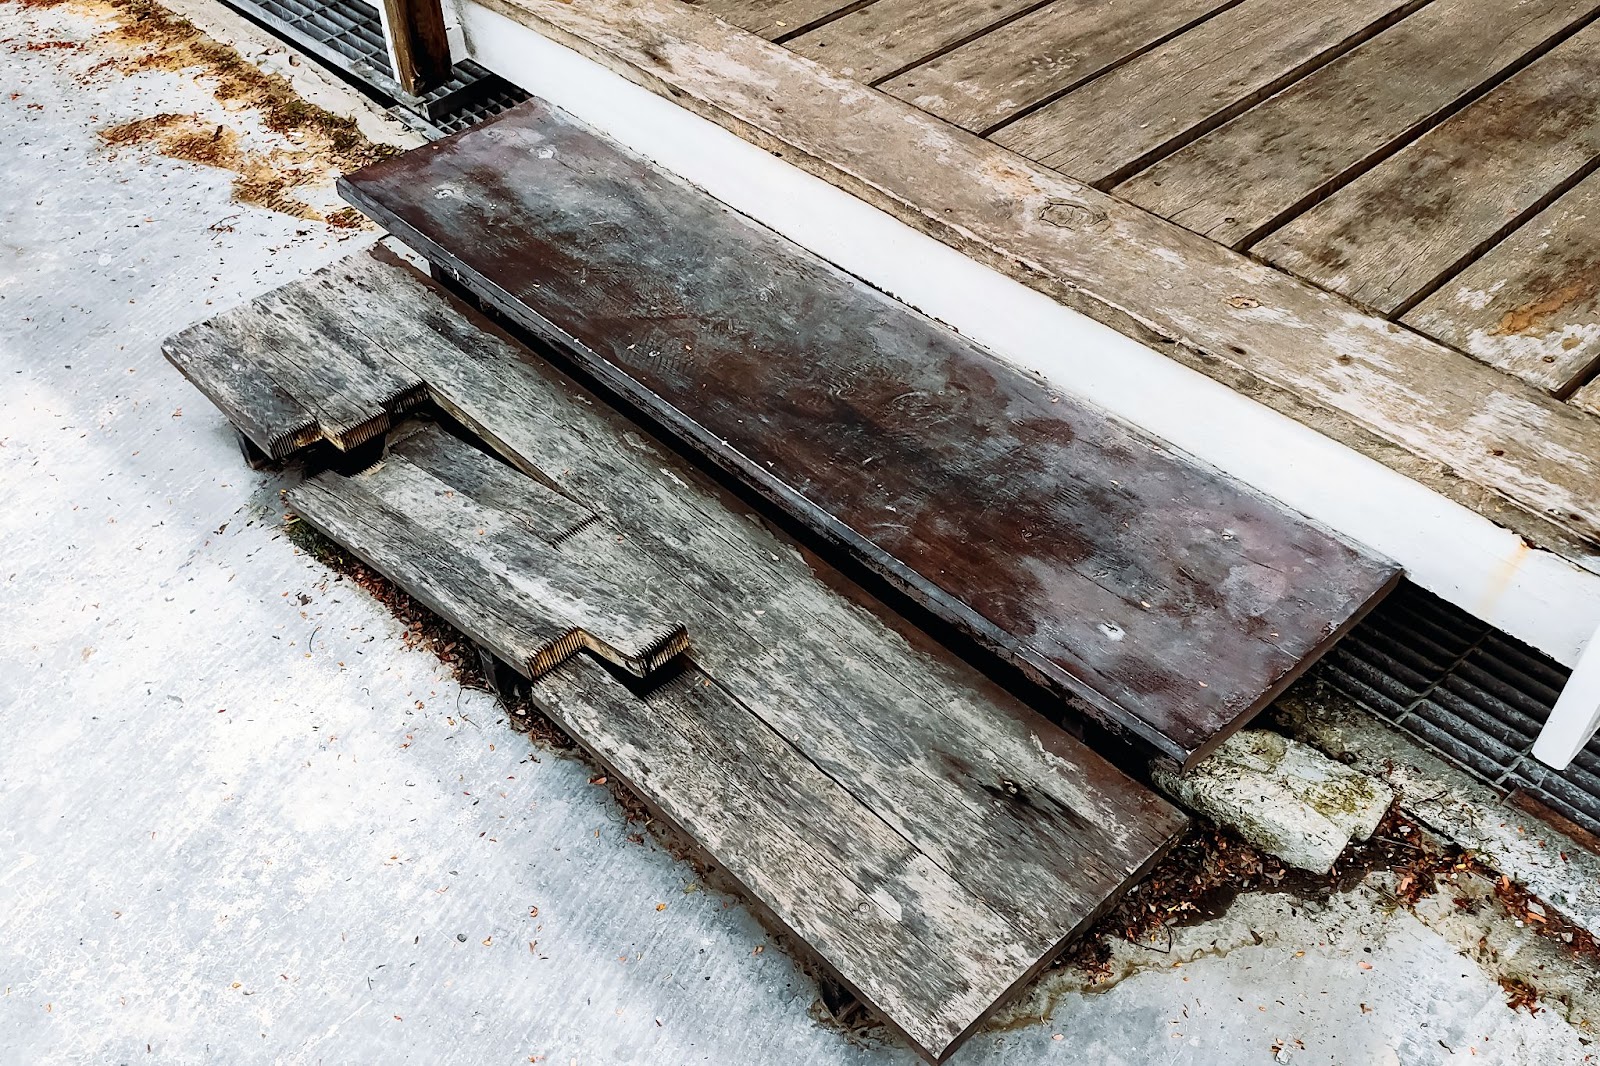
- Warping or Buckling: Moisture can cause wood to swell, leading to warped surfaces or buckled floorboards. These changes weaken the structure and require immediate attention.
- Soft or Spongy Texture: If the wood feels soft when pressed, it’s probable that water has compromised its integrity, making repairing water damaged wood more challenging the longer it’s left untreated.
- Cracks or Gaps: Expanding and contracting due to moisture can create visible cracks or gaps between planks, particularly in flooring or paneling.
The trick is to identify these signs early, so you can take the necessary steps to repair and protect from water damage on wood going forward.
Safety Measures and Tools for Repairing Water-Damaged Wood
Before addressing water damage to wood, proper safety measures are essential. Working with wet or mold-affected wood can expose you to harmful spores or chemicals, so always prioritize personal protection and a well-ventilated workspace.
- Safety Precautions: Wear gloves and a mask to protect your skin and lungs from mold or cleaning chemicals. If possible, use goggles to avoid contact with airborne particles. Ensure the area is ventilated by opening windows or using fans.
- Essential Tools: Gather tools like sandpaper, a putty knife, wood filler, clamps, and sealants. Have a mild detergent, bleach, or vinegar solution ready for cleaning and disinfecting. A dehumidifier or fan is also critical for drying the affected areas.
Having the right tools and safety measures in place ensures the repair process is effective while reducing unnecessary risks. As is usually the case, preparation is important, as it creates a solid foundation for successfully repairing water-damaged wood.

How to Fix Water-Damaged Wood: Step-by-Step Process
When addressing water damage on wood, following a clear repair process will help ensure effective results and, hopefully, prevent further water damage on wood issues.
Here’s how to fix wood that has been damaged by water:
1. Assess the Damage
Inspect the wood to determine the extent of the damage. Minor issues, like surface discoloration or light warping, can usually be repaired. However, severe swelling, rotting, or mold infestations may require professional help or full replacement. This initial step helps you decide the best approach to repairing water-damaged wood.
2. Dry the Wood
Remove excess moisture by using fans, dehumidifiers, or heat sources like hair dryers. Allow the wood to dry completely before beginning repairs, as lingering moisture can worsen the damage and affect repairing water-damaged wood effectively.
3. Clean and Disinfect
Thoroughly clean the affected areas to remove dirt, mold, and mildew. Use a mixture of water and a mild detergent or a solution of vinegar for cleaning. For areas with mold, a diluted bleach solution may be necessary. Diligent, patient cleaning prevents future growth and helps in restoring wood after water damage.
4. Repair or Replace Damaged Areas
- Filling Cracks or Gaps: Use wood filler to address minor cracks and holes. Apply the filler evenly and let it dry completely.
- Sanding the Surface: Sand the wood to smooth out irregularities caused by swelling or warping. Begin with coarse sandpaper and gradually switch to finer grit for a polished finish.
- Replacing Severely Damaged Wood: If the water damage on wood causes issues that are beyond repair, simply cut out the damaged sections and replace them with new wood, if possible. Use clamps to secure the new pieces while the adhesive dries.
5. Seal and Protect
To finish the process, apply a wood sealant, varnish, or waterproof coating. Sealing creates a protective barrier, preventing future water damage on wood and preserving its durability and appearance.
By grasping these steps, you should be in a position to confidently begin repairing water-damaged wood and ensure it’s restored to its former glory. If the water damage is extensive or the repair feels overwhelming, professional restoration services are always an option (more information on that towards the end of this guide).
Tips to Protect Future Water Damage on Wood
Preventing water damage on wood does not need to be a difficult measure. At the risk of stating something quite obvious, restoring wood after water damage isn’t necessary if the wood in question is protected through proactive care and sound maintenance.
- Apply Sealants Regularly: Use water-resistant finishes or sealants to create a protective barrier against moisture.
- Fix Leaks Promptly: Address plumbing leaks and roof issues immediately to prevent water exposure.
- Maintain Proper Ventilation: Use dehumidifiers or fans to reduce humidity levels, especially in basements or kitchens.
- Use Protective Mats: Place mats under potted plants or near sinks to catch spills and excess water.
If you incorporate these habits, you can reduce the risk of needing to focus on repairing water-damaged wood and keep your surfaces in great condition.
When to Call a Professional
While DIY efforts can handle minor cases of water damage on wood, severe or recurring issues usually require professional expertise. Extensive water damage on wood (like deep warping, severe water damage to wooden floors, or widespread mold growth) can be difficult to repair without advanced tools and established techniques.
Professionals will expertly assess the damage accurately and determine the best course of action for restoring wood after water damage.
WetReset specializes in repairing water-damaged wood, using industry-grade methods that result in a thorough and long-lasting solution. Calling in experts also reduces the risk of hidden damage or ineffective fixes that could worsen over time.
If you’re unsure about the extent of the damage or lack the tools needed, reaching out to professionals is not just a wise move but probably your only real course of action.
Bottom Line
Addressing water damage on wood quickly is all about speed. Get there quickly enough, and you should be able to prevent lasting structural and aesthetic harm to your property.
Regular maintenance, such as resealing and checking for moisture issues, should never be overlooked, as it plays a huge role in minimizing future water damage on wood. However, extensive water damage on wood can (and probably will) require a professional hand.
WetReset specializes in restoring wood after water damage with effective, long-term solutions. If you need fast, expert help repairing water-damaged wood, contact WetReset today for professional assistance.