You would be forgiven for thinking moisture damage in walls is merely unsightly, but they are so much worse than that. Without knowing the best moisture removal techniques, you could be jeopardizing your home’s structural integrity and even your family’s health.
The causes are wide and varied, ranging from burst water pipes and heavy rain to appliance leaks and even just high humidity. Either way, figuring out how to draw moisture out of walls quickly can save you thousands in repairs and prevent dangerous mold growth.
At WetReset, we happen to know a thing or two about damp walls. We have also seen firsthand how they can escalate from a minor annoyance to a major disaster. To help you avoid the same fate, this guide will explain the proven moisture removal techniques that really work, from DIY methods to professional solutions.
Before we get to that, how does water damage in walls even happen in the first place?
How Moisture Gets Trapped in Walls
Water creeps its way into walls through various paths, often working silently until damage becomes painfully obvious. Knowing how moisture infiltrates is the first step in sensible, timely, effective treatment:
Water Leaks and Floods
The most obvious culprits are sudden water events. Burst pipes, washing machine overflows, or roof leaks during storms can saturate drywall and insulation within minutes. These acute events drench your walls with large volumes of water, leaving obvious signs of damage.
Floods from external sources like heavy rains or rising groundwater can be particularly problematic. When floodwater reaches even a few inches high, it wicks up drywall through capillary action, often climbing several feet above the actual water line.
Unfortunately, a customer from Cincinnati learned this the hard way last spring: “The creek behind our house rose just six inches into the basement, but by morning, the drywall was soaked three feet up. If we’d waited another day to start drying wet walls, we would’ve lost the entire basement.”
Slow Leaks and Hidden Damage
More insidious are the slow, persistent leaks that occur behind walls. These might stem from:
- Pinhole leaks in copper plumbing
- Shower pan failures are leaking into adjacent rooms
- Improperly sealed windows allow rain infiltration
- Cracked grout in tiled shower walls
These stealth leaks might release just ounces of water daily, but over weeks or months, they saturate building materials from the inside out. Because the source remains hidden, they often go untreated until water damage in walls becomes severe.
Take, for example, another client of ours in Portland, who had a minor pipe leak behind her kitchen cabinet for months. “By the time we noticed,” she told us, “the entire wall cavity was black with mold, and the bottom plate of the wall had rotted completely. What could have been a simple fix became a $7,000 restoration project.”
Condensation and High Humidity
Not all moisture comes from liquid water sources. High indoor humidity (anything above 60%, as a general rule of thumb) can cause condensation within walls, especially in bathrooms, kitchens, and laundry rooms. This moisture accumulates in insulation and on the paper backing of drywall, creating perfect conditions for various types of mold growth.
Cold exterior walls in winter tend to exacerbate this problem. When warm, humid indoor air penetrates walls and meets cold surfaces, it then condenses into liquid water droplets that become trapped within the wall assembly.
Signs of Moisture Behind Walls
Before implementing moisture removal techniques, you need to confirm that you actually have damp walls in the first place. Here’s what to watch out for:
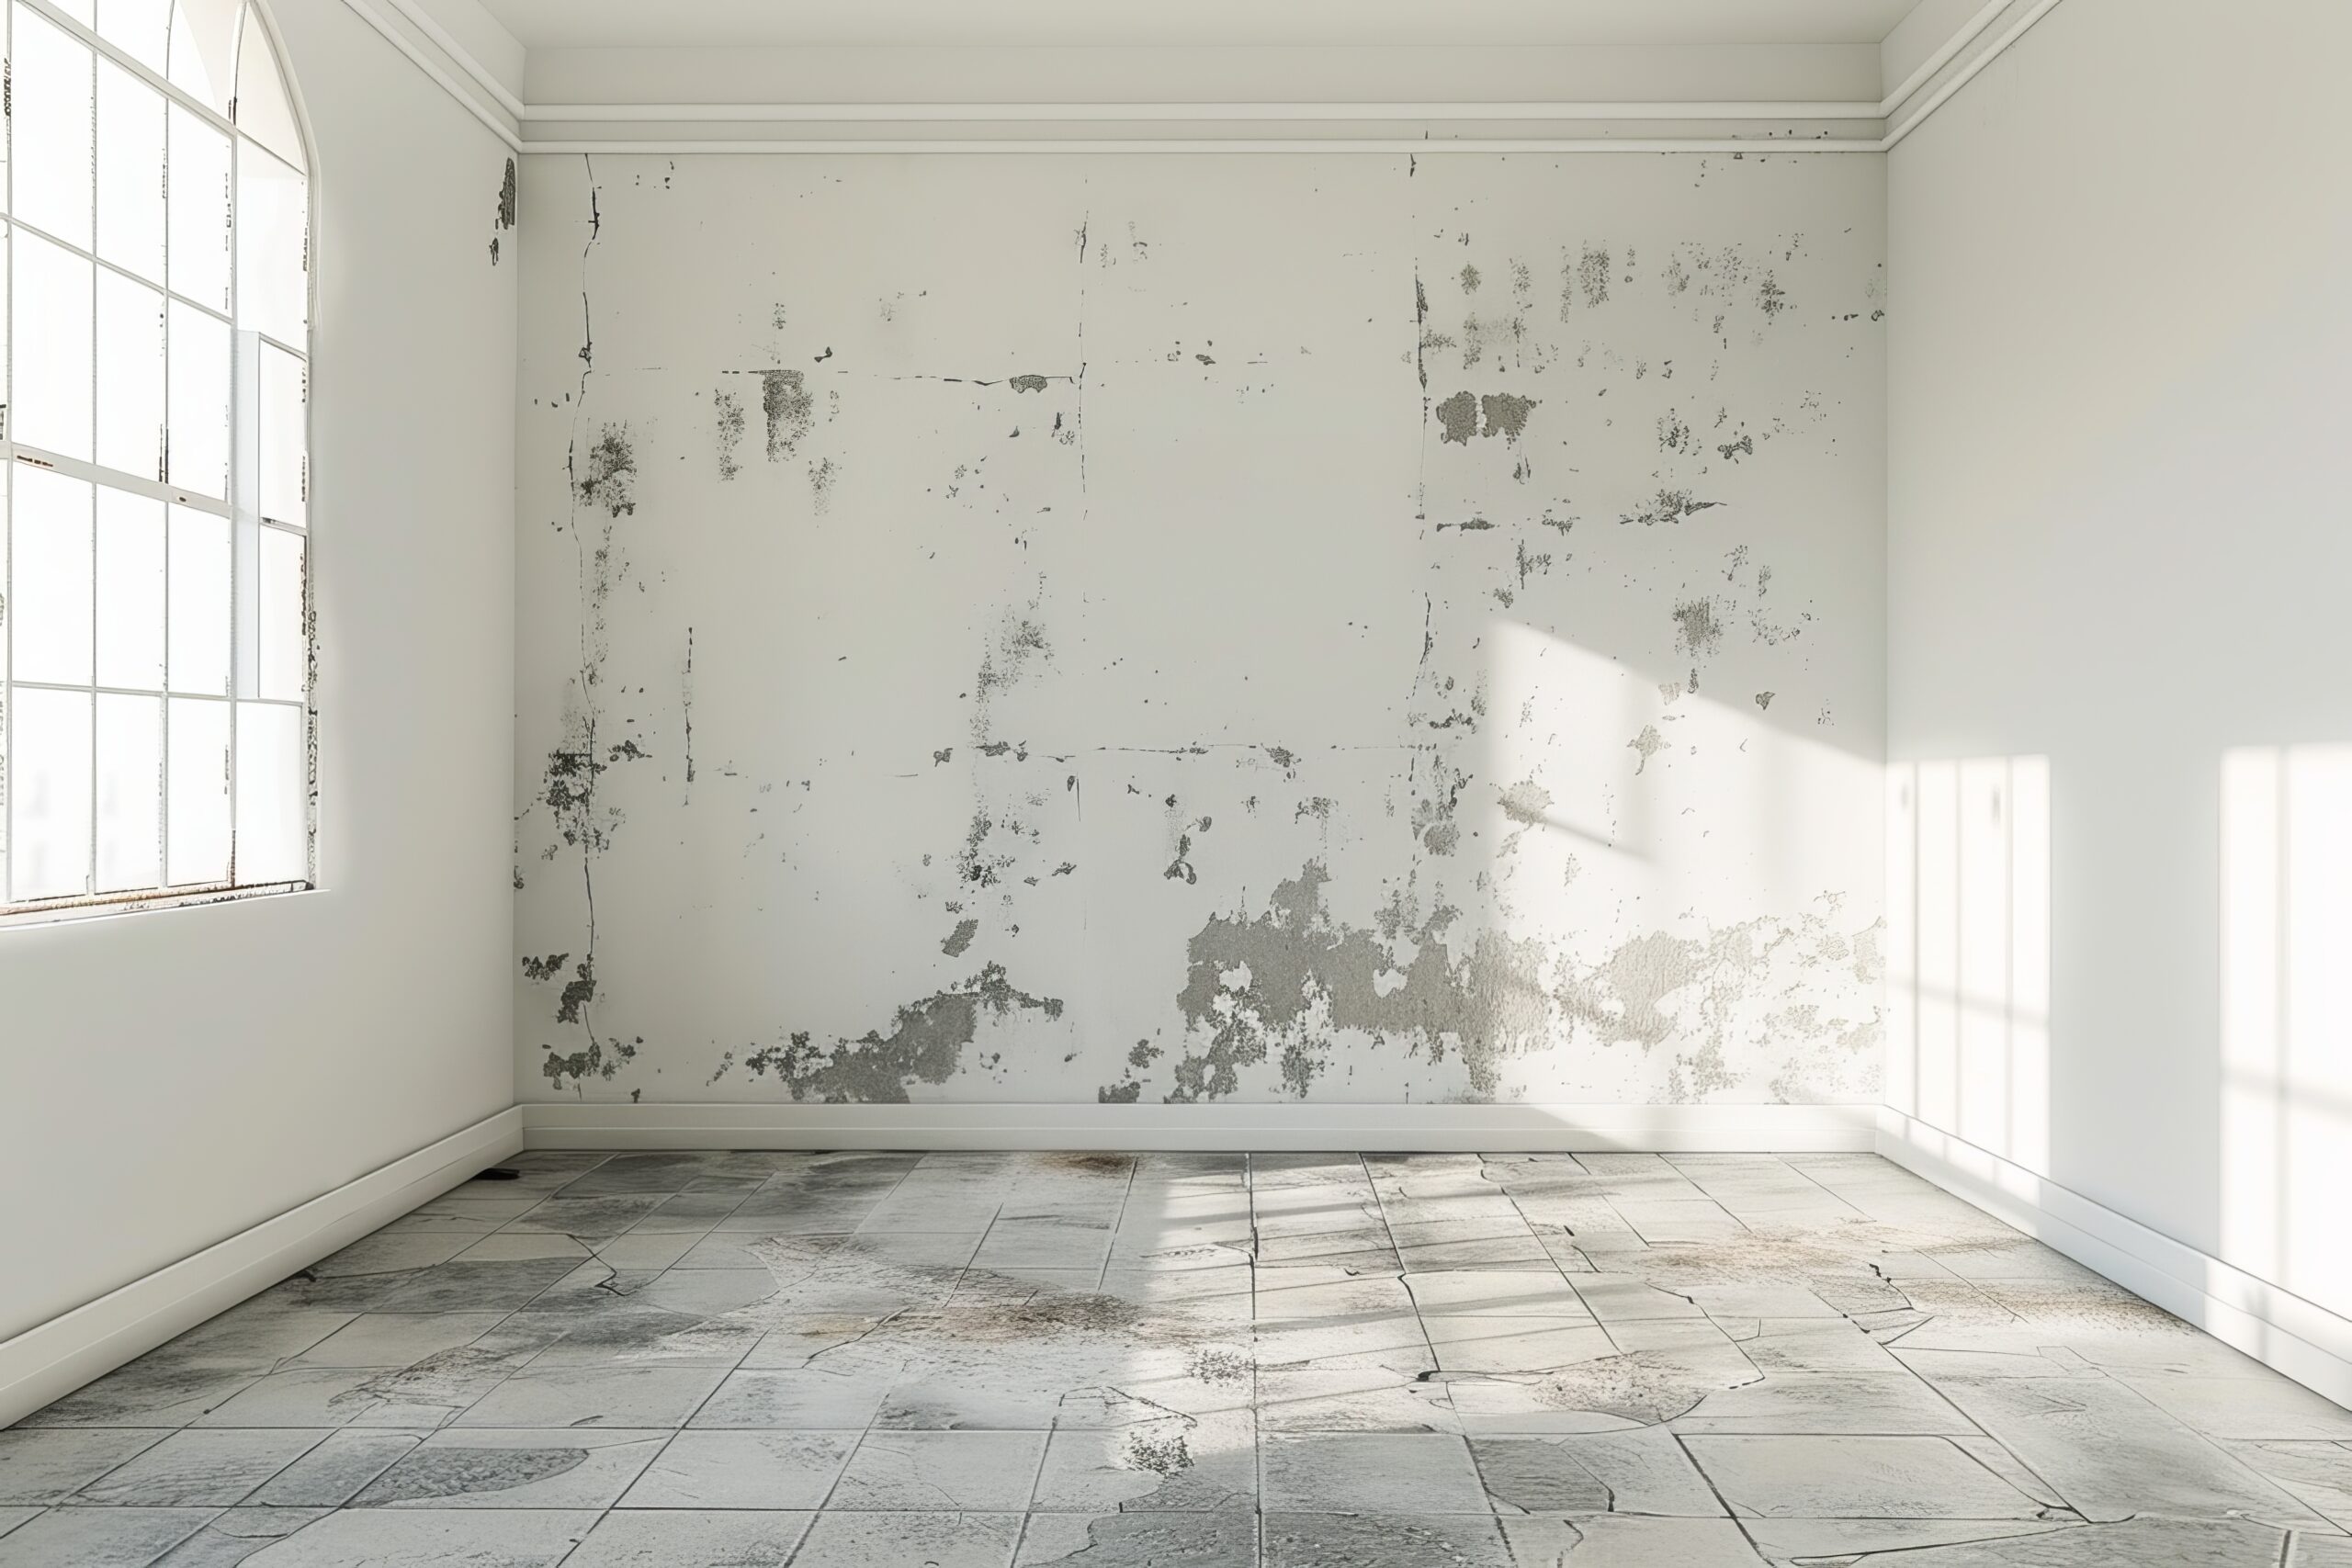
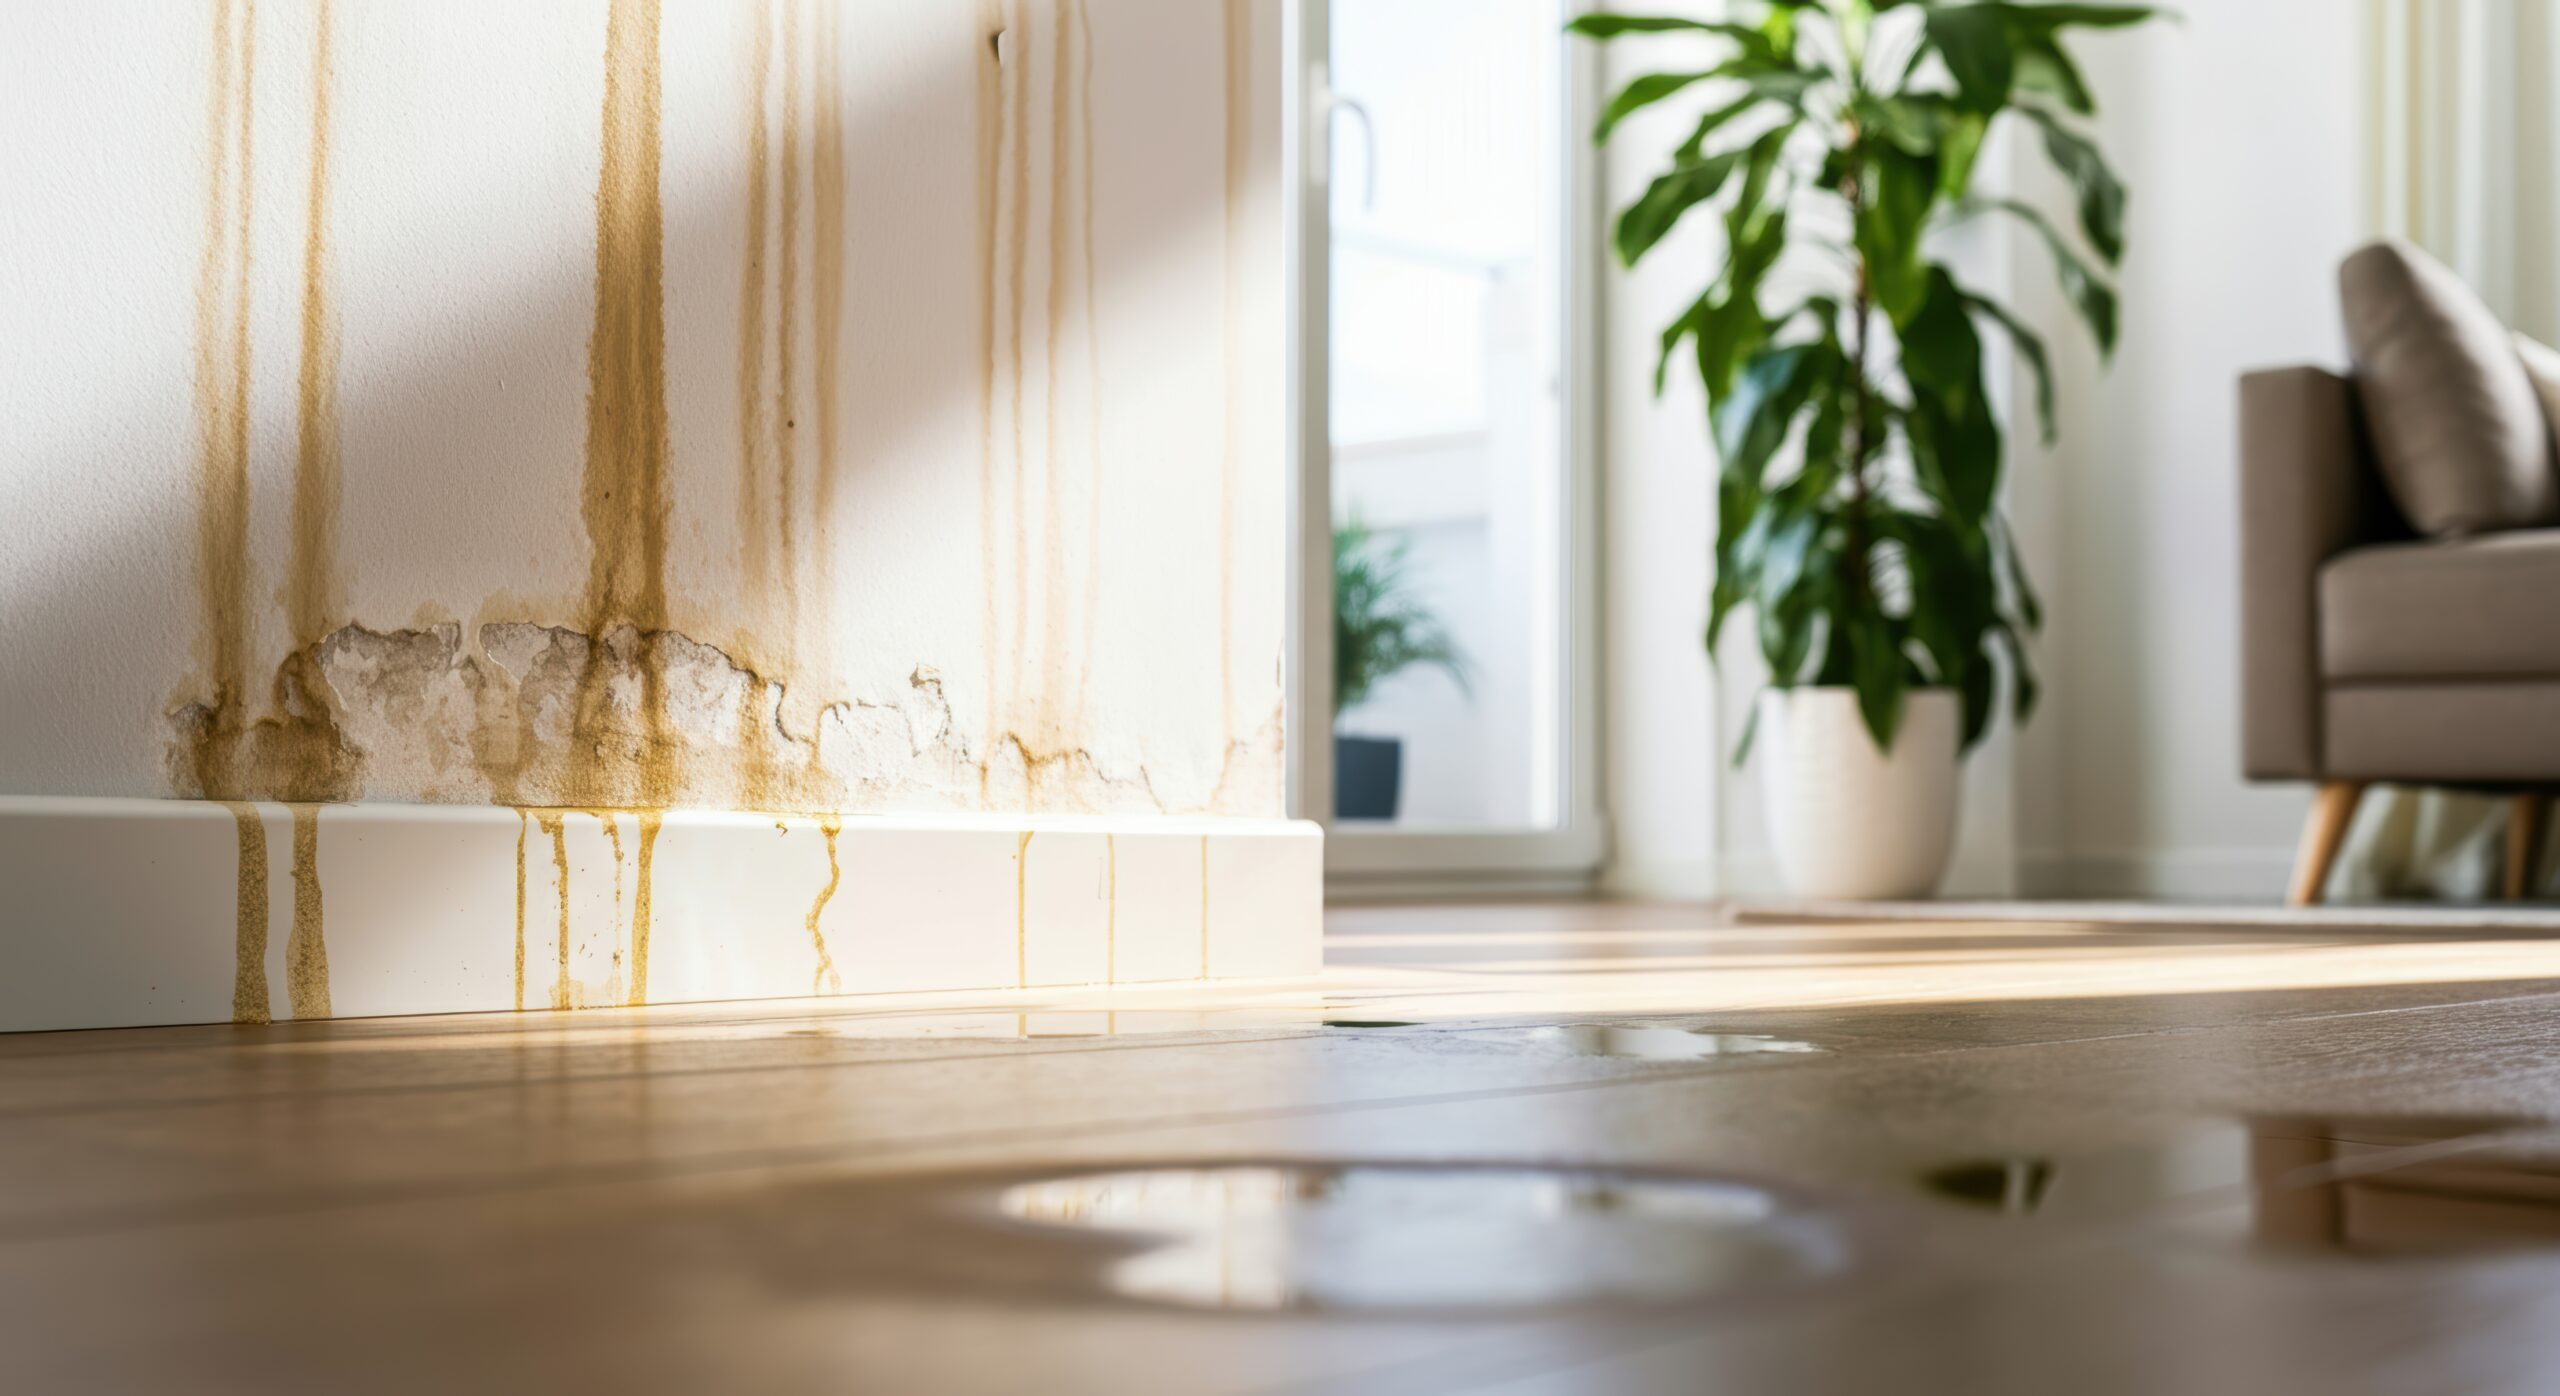
Visual Indicators
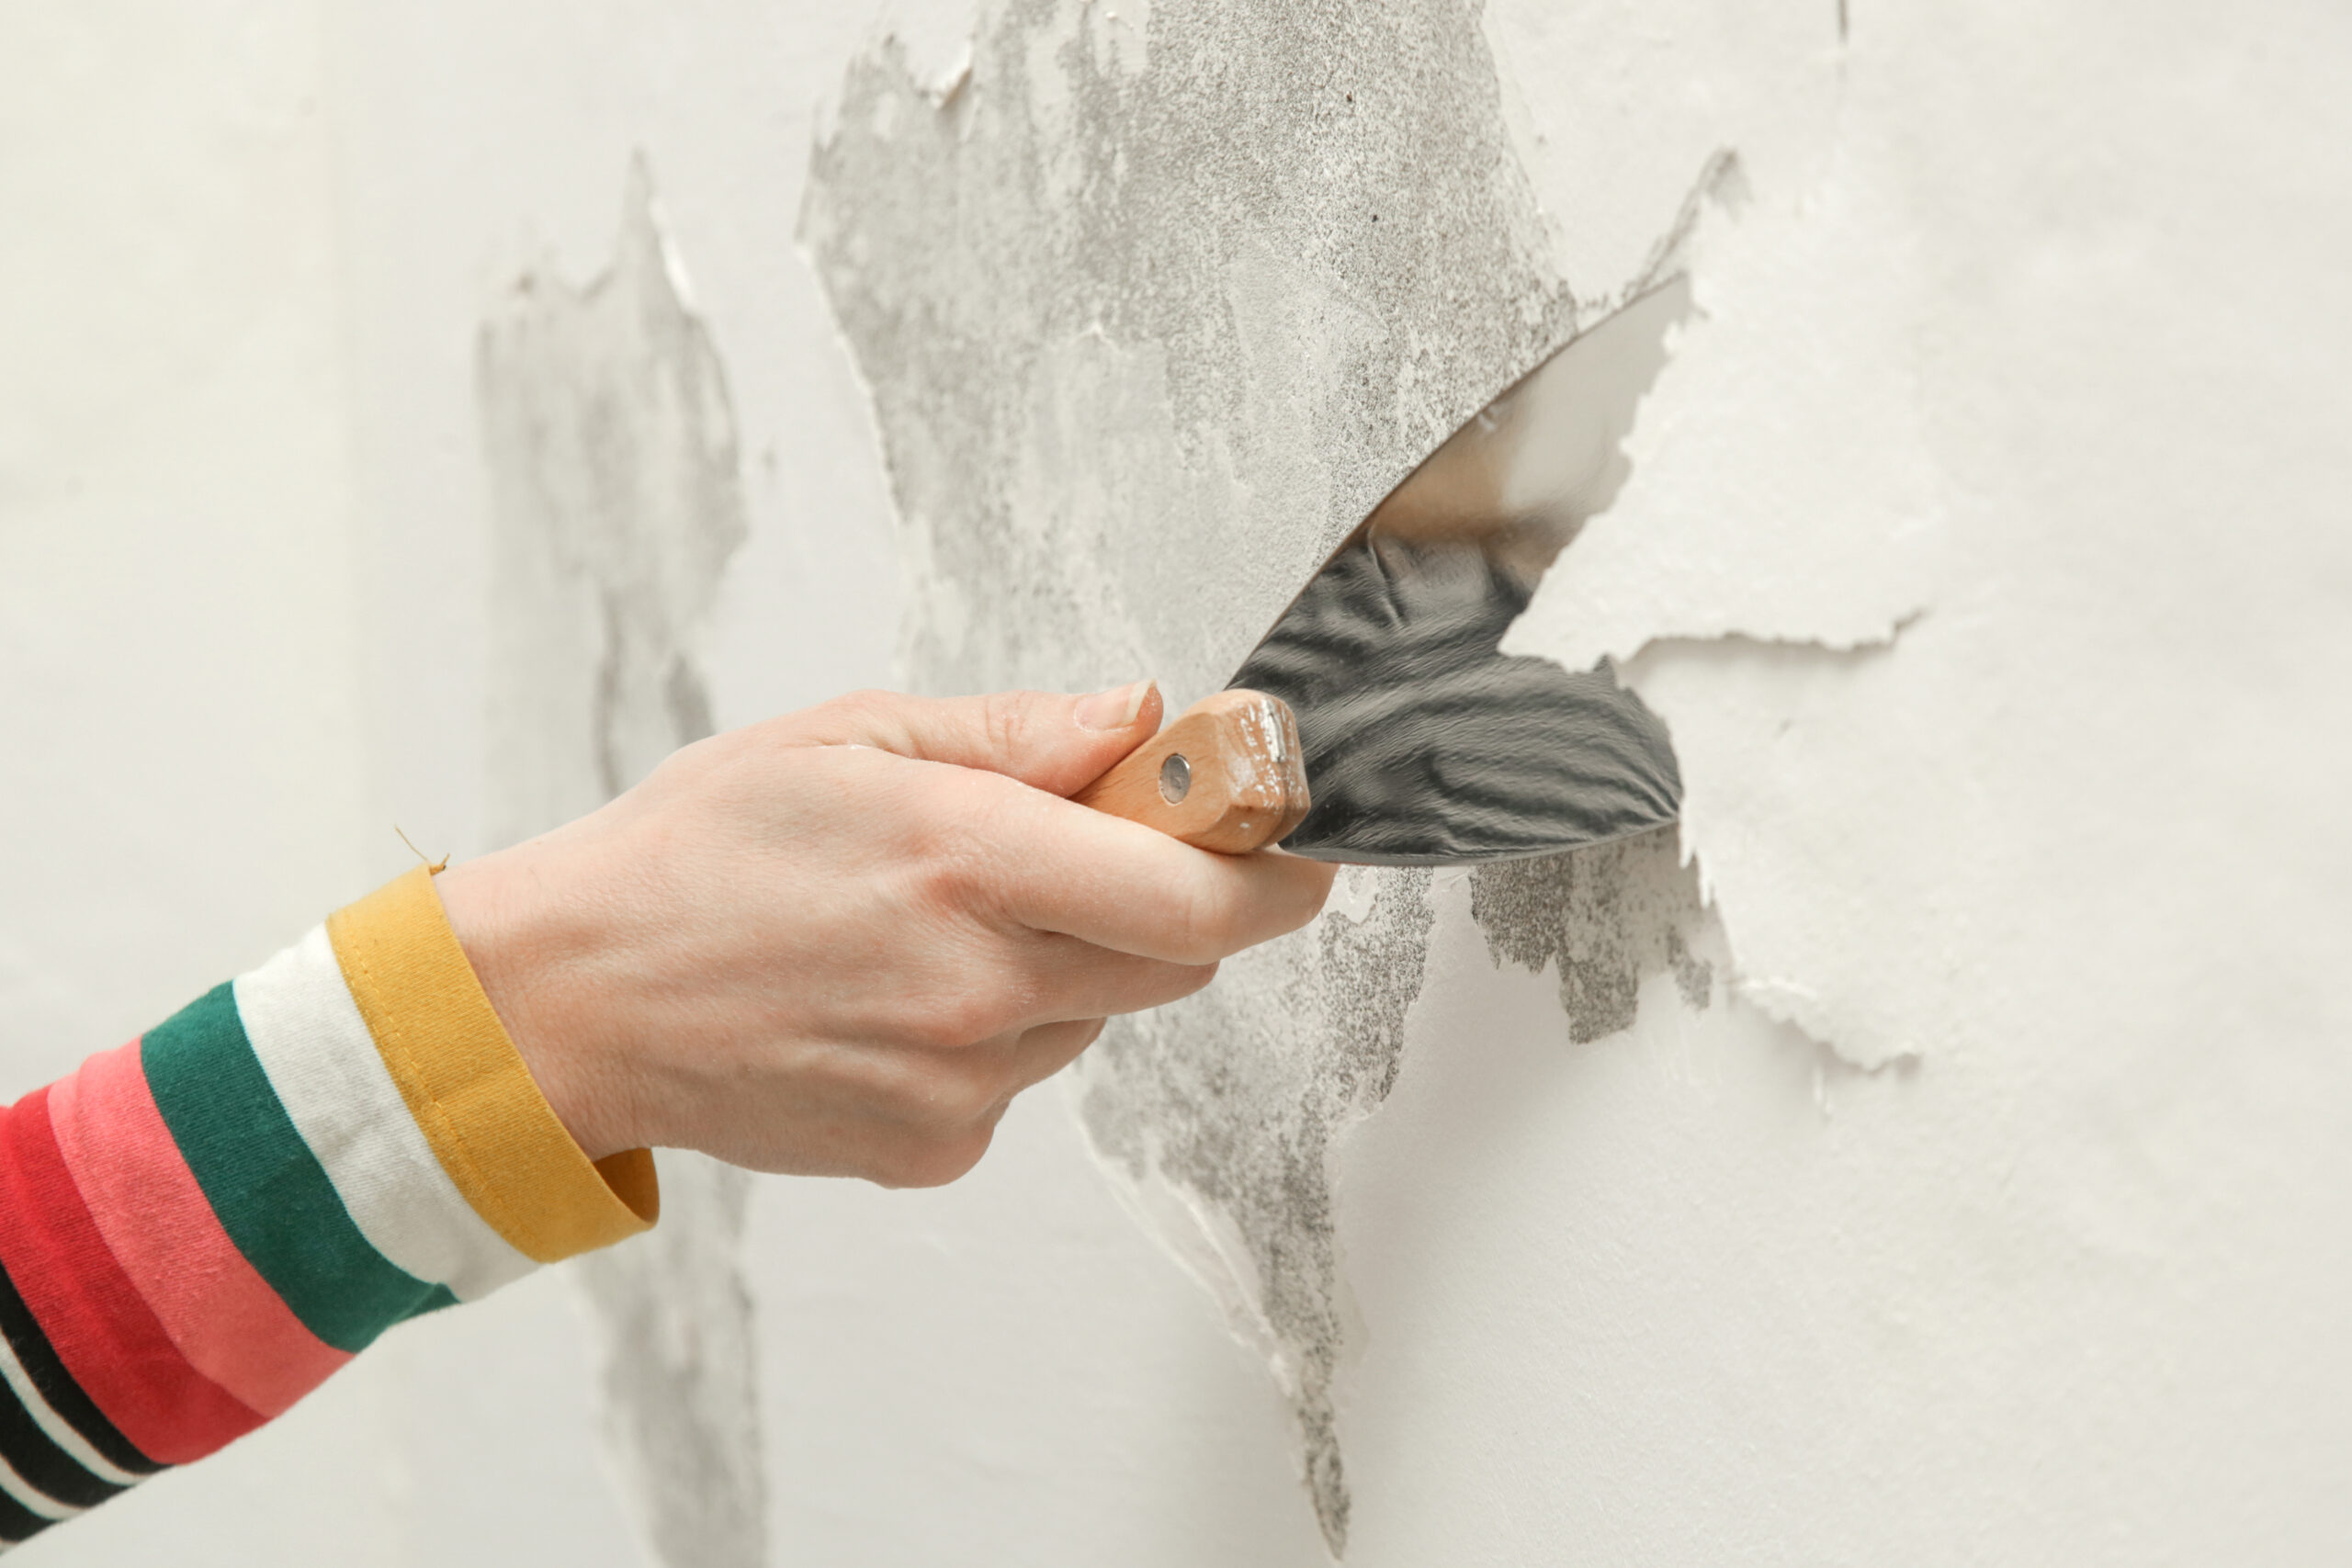
- Peeling or bubbling paint: When moisture pushes through drywall, it breaks the bond between paint and the wall surface.
- Swollen or warped drywall: Drywall expands when wet, creating visible bulging or uneven surfaces.
- Staining or discoloration: Yellow, brown, or copper-colored marks often indicate water migration through wall materials.
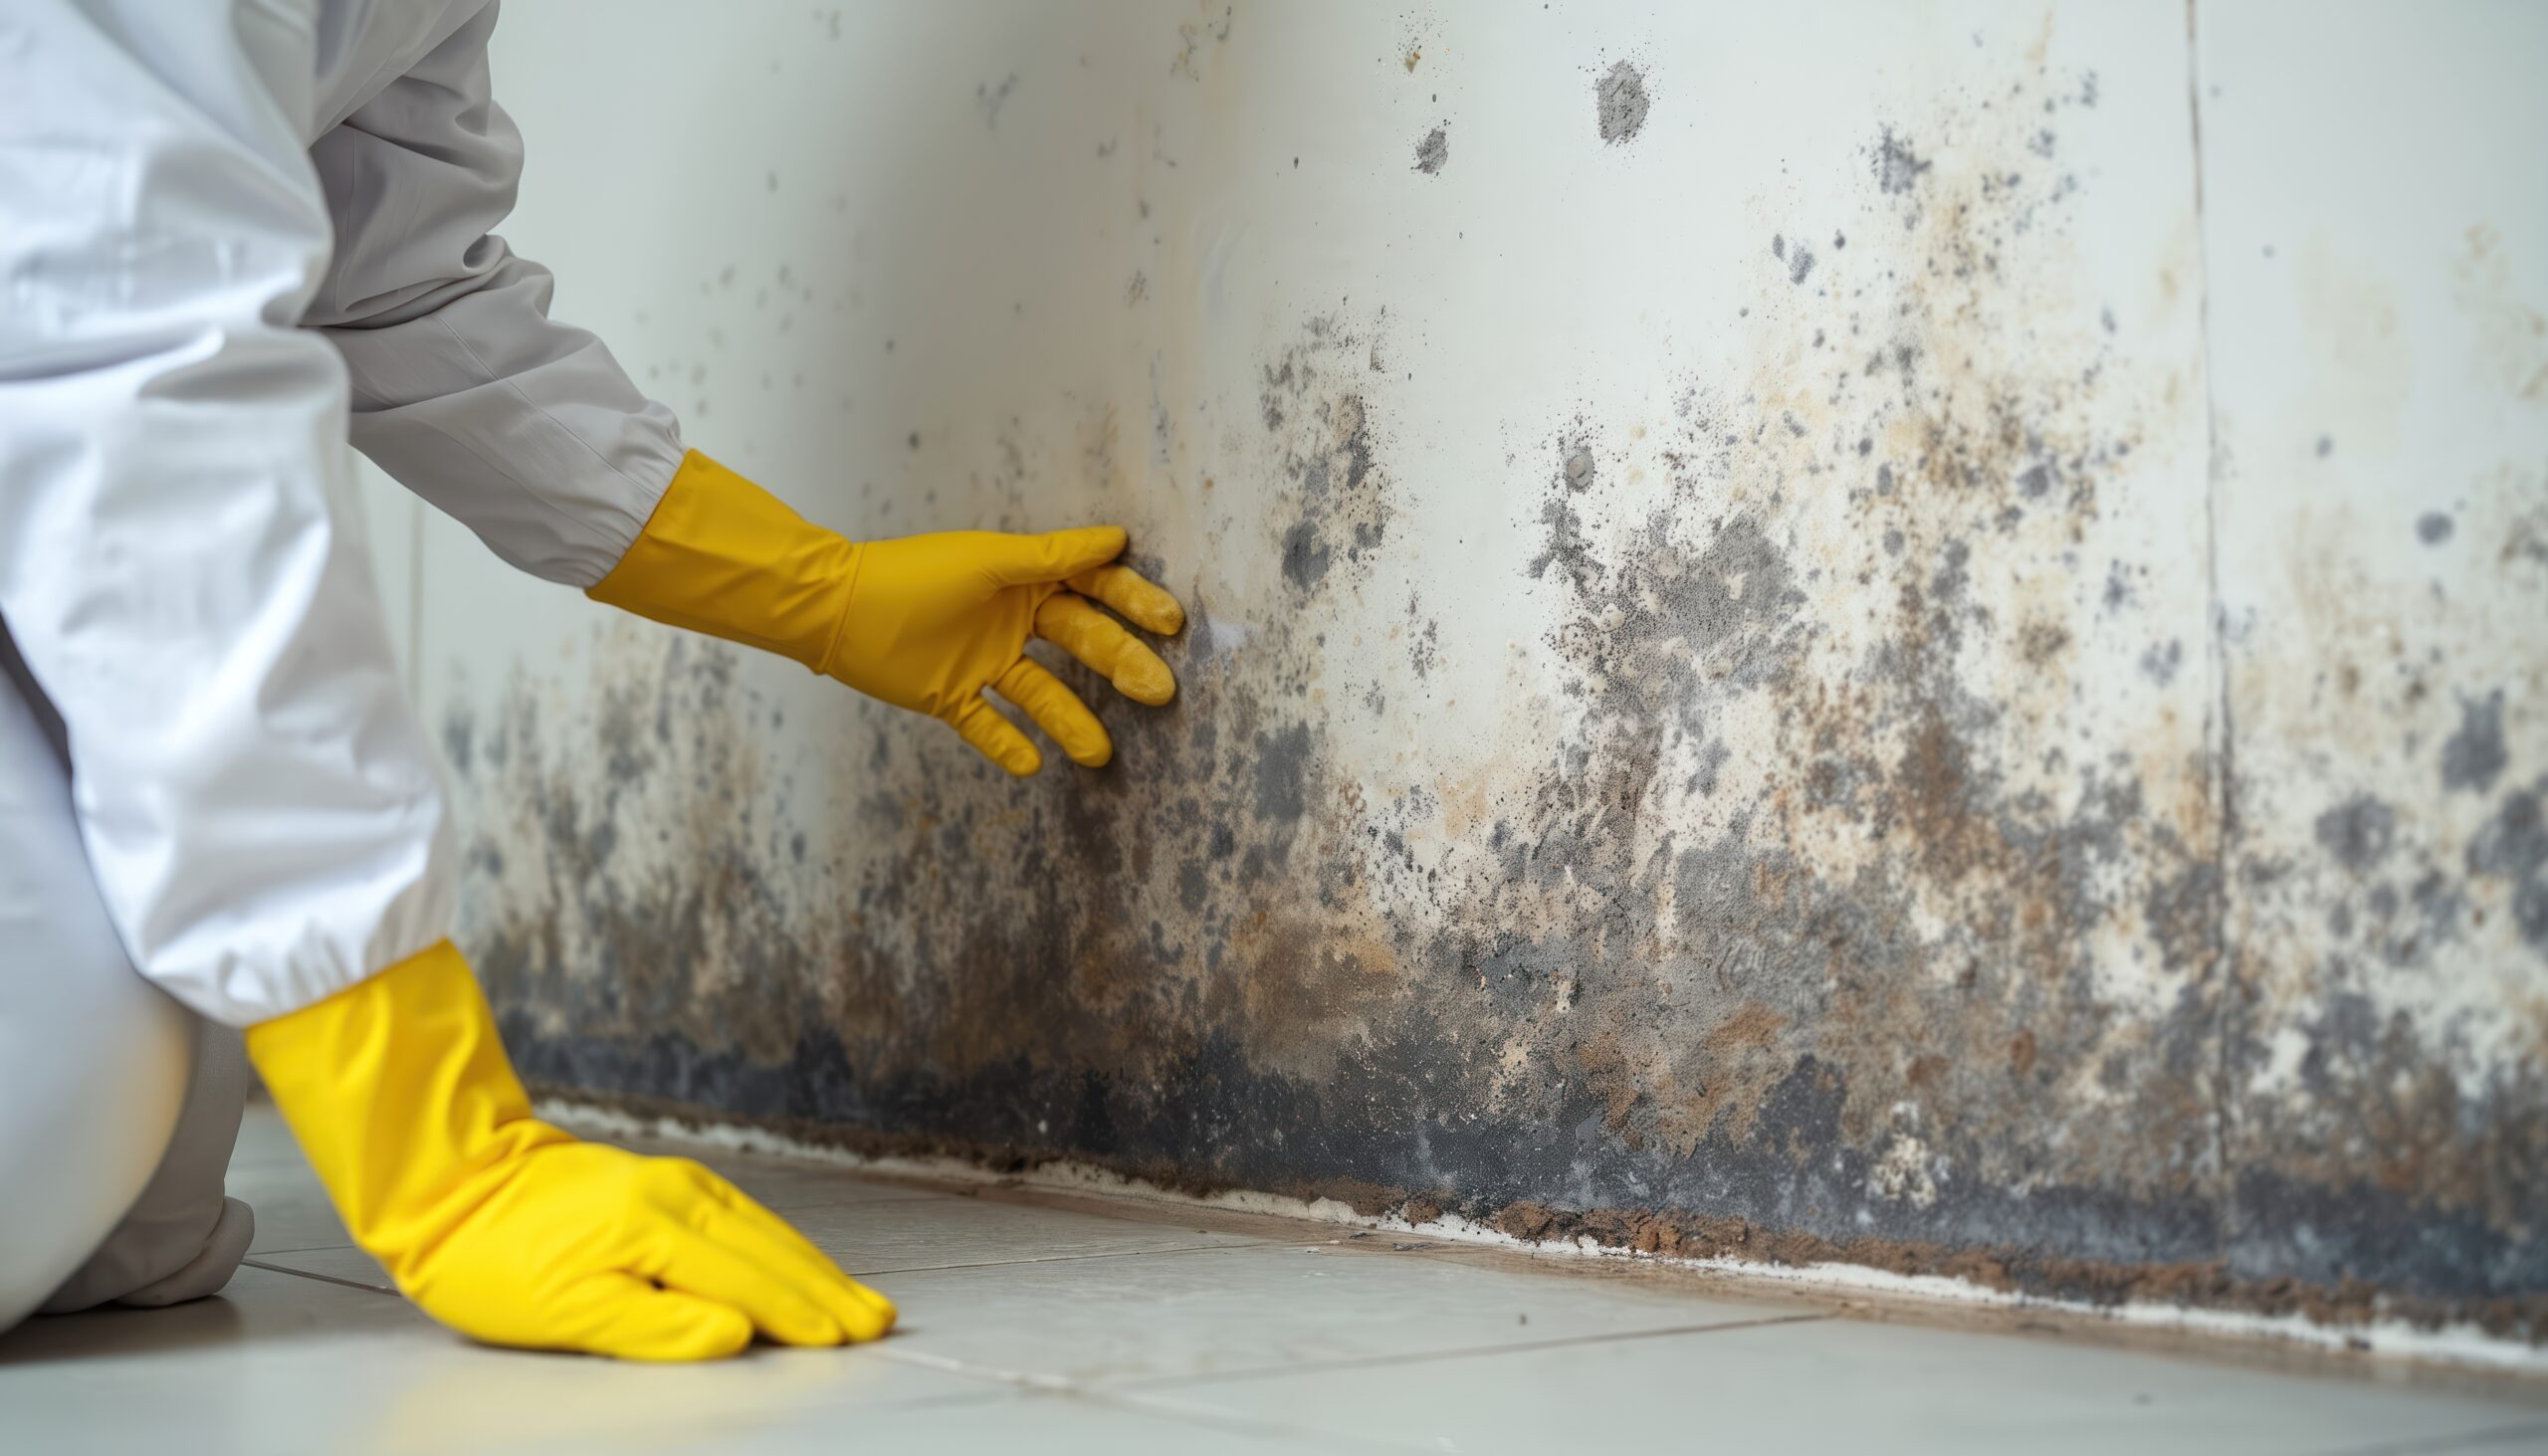
- Visible mold growth: Black, green, or white spotting on walls, especially in corners or along baseboards.
Non-Visual Signs
- Musty, earthy odors: That distinctive “old basement” smell often indicates hidden moisture and mold.
- Increased allergy symptoms: Unexplained respiratory issues, especially when in specific rooms.
- Doors or windows that suddenly stick: Moisture can warp framing, causing previously well-fitting doors or windows to bind.
- Increased humidity in a specific area: If one room feels noticeably more humid than others, wall moisture might be the culprit.
Testing Methods
Suspect water damage in walls, but aren’t seeing obvious signs? You’re certainly not alone – the issue is not always obvious. Try these simple but effective tests:
- Touch test: Simply press your hand against suspicious areas. Damp drywall feels cooler than dry sections and may have a slight give when pressed.
- Moisture meter: These inexpensive devices ($30-50 at hardware stores) detect moisture through drywall without damaging it.
- Thermal imaging: Professional-grade infrared cameras reveal temperature differences that indicate moisture hiding within walls.
Best Strategies to Draw Moisture Out of Walls
So, you have confirmed that you’re dealing with wet walls. Now, quick action becomes absolutely essential. Let’s take a look at how to address the problem, starting with simple DIY approaches before moving to professional water damage mitigation methods.
Immediate Drying Methods
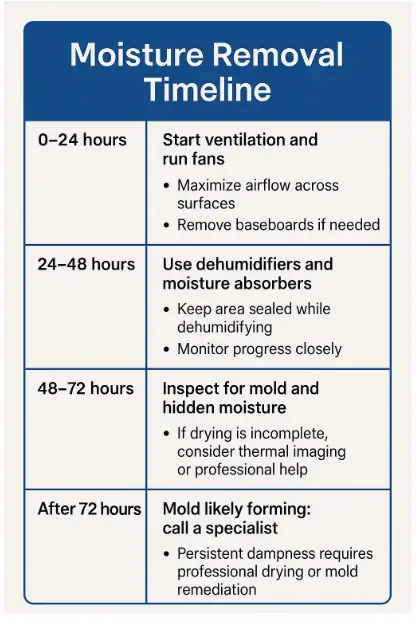
The first 24-48 hours after water exposure are extremely important. During this window, you can often dry wet walls successfully without extensive damage or mold growth. Start with these approaches:
Increase Ventilation and Airflow
Good air circulation remains your first line of defense in drying wet walls. Here’s how to maximize it:
- Open windows and doors to create cross-ventilation, weather permitting.
- Position multiple fans to blow air across damp walls, not directly at them (parallel airflow evaporates moisture more effectively than perpendicular).
- Remove baseboards and trim if they’re showing signs of moisture to allow air movement behind them.
- Pull furniture away from affected walls by at least 2-3 feet to improve air circulation.
A simple box fan can move over 2,500 cubic feet of air per minute, which is enough to exchange the air in a typical bedroom every two minutes, and is a powerful tool for drying.
Deploy Dehumidifiers Strategically
While fans move air, dehumidifiers actually remove moisture from it. Place dehumidifiers in affected rooms with these guidelines:
- Position units centrally with at least 6 inches of clearance on all sides.
- Close windows and doors while dehumidifiers run (unlike ventilation, dehumidifiers work best in contained spaces).
- Empty collection tanks frequently or direct drainage hoses to sinks or drains.
- Target 30-40% relative humidity for fastest drying.
For a standard bedroom with damp walls, a 50-pint dehumidifier can extract several gallons of water daily from the air, greatly accelerating drying time.
Apply Absorptive Materials
For surface dampness, desiccant products can help draw moisture from walls:
- Silica gel packets placed along baseboards help absorb ambient moisture.
- Cat litter (clean, unused) in shallow trays near affected walls works surprisingly well.
- Calcium chloride products marketed specifically for moisture control can be placed near damp areas.
These methods work best for minor dampness rather than saturated walls, but they can supplement other drying techniques.
Specialized Equipment for Serious Moisture Problems
When consumer-grade equipment isn’t working, it’s time to consider rental or professional gear designed specifically for water damage restoration.
High-Volume Air Movers
Professional water damage restorers use specialized air movers that outperform household fans:
- Centrifugal air movers create focused, high-velocity airflow that can penetrate deeper into building materials.
- Axial air movers move larger volumes of air for general room drying.
- Low-profile air movers can direct airflow into tight spaces like toe kicks and under cabinets.
These units typically move 3-4 times more air than household fans and can be rented from equipment suppliers for $30-50 daily.
Industrial-Grade Dehumidifiers
Commercial dehumidifiers for moisture removal work far more efficiently than consumer models:
- Low Grain Refrigerant (LGR) dehumidifiers can lower humidity to levels standard units can’t reach.
- Desiccant dehumidifiers use chemical absorption rather than refrigeration, working effectively even in cooler temperatures.
These huge but effective powerhouses can remove 20-25 gallons of water daily from affected areas, compared to just 5-10 gallons for consumer units.
Moisture Detection and Monitoring Equipment
Professional equipment helps track drying progress:
- Thermal hygrometers measure both temperature and relative humidity.
- Penetrating moisture meters with probe attachments can check moisture content deep within walls.
- Infrared cameras reveal hidden moisture pockets that might otherwise be missed.
These tools help ensure walls are truly dry throughout, not just on the surface.
Wall Cavity Drying Systems
When moisture gets trapped inside wall cavities, standard drying methods often fall short. A professional water restoration company employs specialized techniques to dry inside walls without complete demolition.
Injectidry Systems
These specialized drying systems use small holes drilled in strategic locations to force dry air directly into wall cavities. The process works like this:
- Multiple 1/2-inch holes are drilled at the base of affected walls, typically behind baseboards.
- Small plastic manifolds are inserted into these holes.
- A high-pressure blower forces dry air through these ports and into the wall cavity.
- The air circulates within the wall, picking up moisture before exiting through existing openings or additional vent holes.
This targeted approach can drywall cavities in 2-3 days without removing drywall.
Negative Air Pressure Systems
Sometimes, pulling air out of wall cavities proves more effective than pushing it in:
- Small holes are drilled in the upper and lower portions of affected walls.
- A collection manifold connects to the upper holes.
- A vacuum system pulls air from the wall cavity.
- Dry room air enters through the lower holes, picks up moisture, and exits through the upper collection system.
This method excels at drying insulation within wall cavities, which often retains moisture longer than other building materials.
DIY Wall Drying Essentials
Here’s a handy checklist for homeowners facing wall moisture issues:
When to Call a Professional?
While DIY moisture removal techniques can handle minor situations, certain scenarios demand professional intervention. Don’t hesitate to call experts when:
Visible Mold Growth Has Started
If you spot mold growing on walls, DIY drying isn’t enough. Professional remediation becomes necessary because:
- Conventional drying methods won’t kill existing mold.
- Disturbing moldy materials without proper containment can spread spores throughout your home.
- Hidden mold inside walls often extends far beyond visible patches.
Professional mold remediation includes:
- Proper containment to prevent cross-contamination
- HEPA air filtration during work
- Removal or cleaning of affected materials
- Application of antimicrobial treatments
- Post-remediation verification testing
Walls Remain Damp After 48 Hours
If your drying efforts haven’t shown significant progress within two days, it’s time to call professionals. Persistent dampness indicates:
- The water source might still be active
- Moisture has penetrated deeper than surface materials
- Standard drying equipment isn’t powerful enough
- There might be hidden water pockets you can’t access
Continued dampness creates ideal conditions for mold, which can begin growing within 72 hours of initial water exposure.
The Affected Area Is Large
Size matters when drying wet walls. Professional help becomes necessary when:
- Multiple rooms are affected
- Water has affected walls on multiple floors
- Ceilings show signs of water damage
- External walls with insulation are involved
These larger-scale situations require coordinated drying plans and multiple pieces of commercial equipment working simultaneously.
The Water Source Is Contaminated
Not all water damage is created equal. If your wet walls resulted from:
- Sewage backups
- River or stream flooding
- Long-standing water (more than 48 hours)
These situations involve contaminants that pose health risks and require professional cleaning protocols beyond simple drying.
Preventing Moisture Problems in the Future
After successfully drying wet walls, take these steps to prevent recurrence:
Regular Inspections and Maintenance
Proactive checks can catch moisture problems at home before they become serious:
- Inspect caulking around tubs, showers, and sinks quarterly, recaulking as needed.
- Check washing machine hoses for bulging, cracking, or leaking every six months.
- Have your roof inspected annually for damaged shingles or flashing.
- Clean gutters and downspouts seasonally to prevent overflow.
Improve Home Ventilation
Proper airflow prevents condensation-related moisture problems:
- Install and use bathroom exhaust fans during and 30 minutes after showers.
- Ensure kitchen range hoods vent to the exterior, not into attics.
- Consider whole-house ventilation systems in humid climates.
- Use ceiling fans to improve air circulation year-round.
Monitor Indoor Humidity
Keeping indoor humidity between 30-50% prevents condensation inside walls:
- Use hygrometers (humidity meters) in bathrooms, kitchens, and basements.
- Run dehumidifiers in basements or crawl spaces during humid months.
- Avoid indoor clothes drying without proper ventilation.
- Consider a whole-house dehumidifier if you live in a particularly humid climate.
Address Small Leaks Immediately
Don’t let small water issues become big problems:
- Fix dripping faucets and running toilets promptly.
- Replace washing machine hoses every 5 years, even if they look fine.
- Investigate and repair mysterious water spots quickly.
- Test your water pressure annually (high pressure stresses plumbing).
When Water Damage Hits Your Home, WetReset Is Ready

While these DIY methods for drawing moisture out of walls can be effective for minor situations, serious water damage demands professional attention. At WetReset, our certified technicians bring commercial-grade equipment and proven restoration techniques to every job, large or small.
Don’t compromise your home or your family’s health by letting moisture linger in your walls. If you’ve spotted signs of water damage or your DIY drying efforts aren’t producing results, contact WetReset for a professional assessment.
Our experts will develop a customized drying plan for your unique situation, often saving walls that might otherwise require complete replacement. Schedule your moisture inspection today—because when it comes to water damage, time is never on your side.
Contact WetReset Now for Professional Moisture Removal Services